In the world of automotive photography, a great shot can make all the difference, whether you’re showcasing a luxury car for sale or capturing a stunning vehicle for social media. But capturing the perfect shot in-camera is only part of the equation – editing plays a crucial role in bringing your car photos to life. With the right editing techniques, you can enhance colors, highlight details, and remove imperfections, all of which help your car photos stand out from the crowd.
Whether you’re a professional photographer, a car enthusiast, or a marketing professional, these car photo editing tips will help you create polished, eye-catching images that capture the attention of your audience.
Always start with high-quality raw images
When it comes to car photo editing, the foundation starts with the raw image. The better the original photo, the easier and more effective your editing will be. High-quality images help to preserve the details and textures that are key in showcasing a car’s design, shape, and features.
Cars have intricate features, such as reflections, chrome detailing, and smooth lines that are best captured with high-resolution images. The more detailed the image, the better you can highlight these aspects in your editing process. High-resolution images offer more room to crop, adjust, and enhance without losing quality. This is especially important when editing out imperfections or repositioning elements within the frame.
Starting with high-quality images, you’ll have more control and opportunities to refine your shots
Pro tips for capturing high-quality raw car photos:
- Shoot in RAW format: Always capture your car photos in RAW format, as this gives you the most flexibility during editing and ensures you don’t lose important details.
- Use a tripod: Stability is crucial when photographing cars, especially when shooting in low light or with slow shutter speeds. A tripod will eliminate camera shake and ensure sharp images.
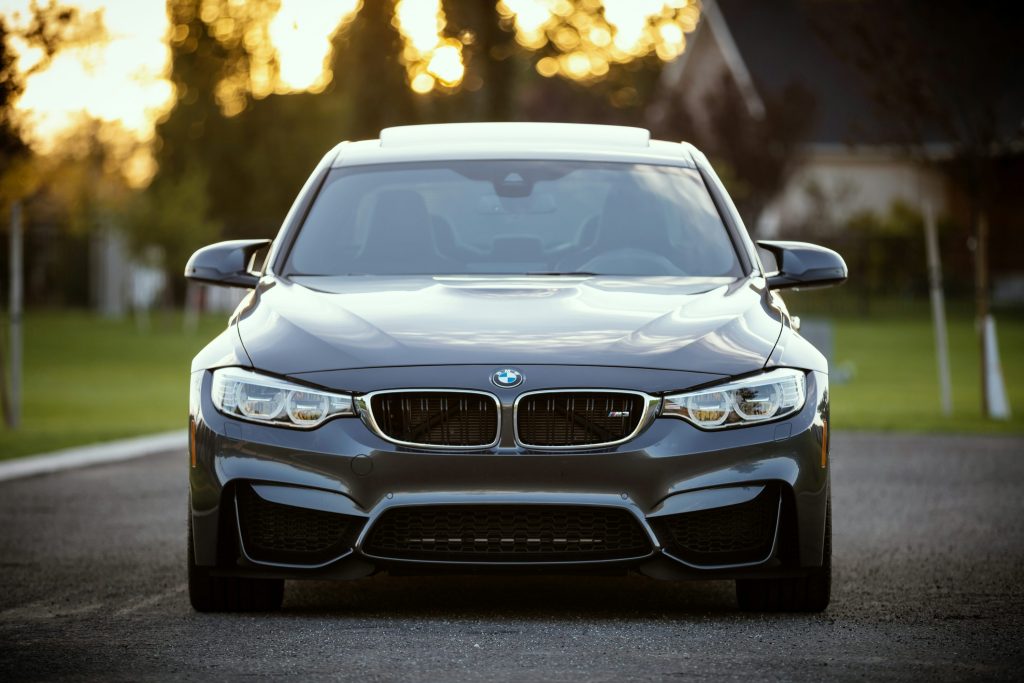
- Proper lighting: Take photos during the golden hour (early morning or late afternoon) for natural lighting, or use softbox lights for studio settings to avoid harsh shadows and reflections on the car’s surface.
Adjust exposure and lighting in car photo editing
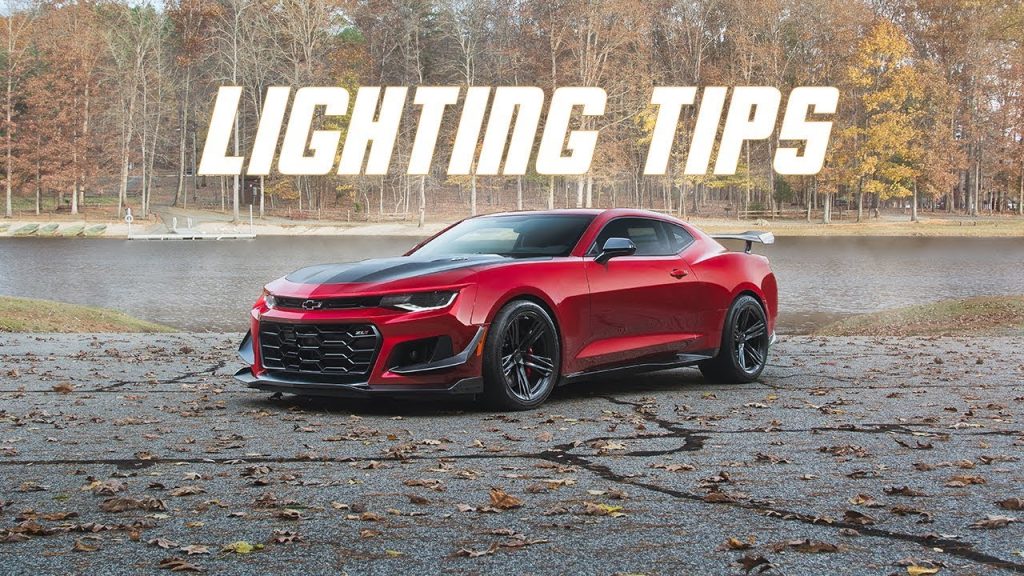
Proper exposure and lighting are key elements in car photography. While a high-quality raw image will give you the foundation you need, adjusting the exposure and lighting during editing will enhance the car’s appearance.
Cars often have reflective surfaces that can be tricky to photograph in harsh lighting conditions. Balancing the highlights and shadows ensures that the car’s details, such as the reflection of the surroundings and the textures of the paintwork, are clearly visible. Proper lighting enhances the depth of the car by creating shadows that emphasize its shape and curves. A well-lit image will allow you to highlight specific features like chrome elements or tire tread.
Good exposure makes the car look vivid and dynamic, while poor exposure can make the image appear flat and lifeless.
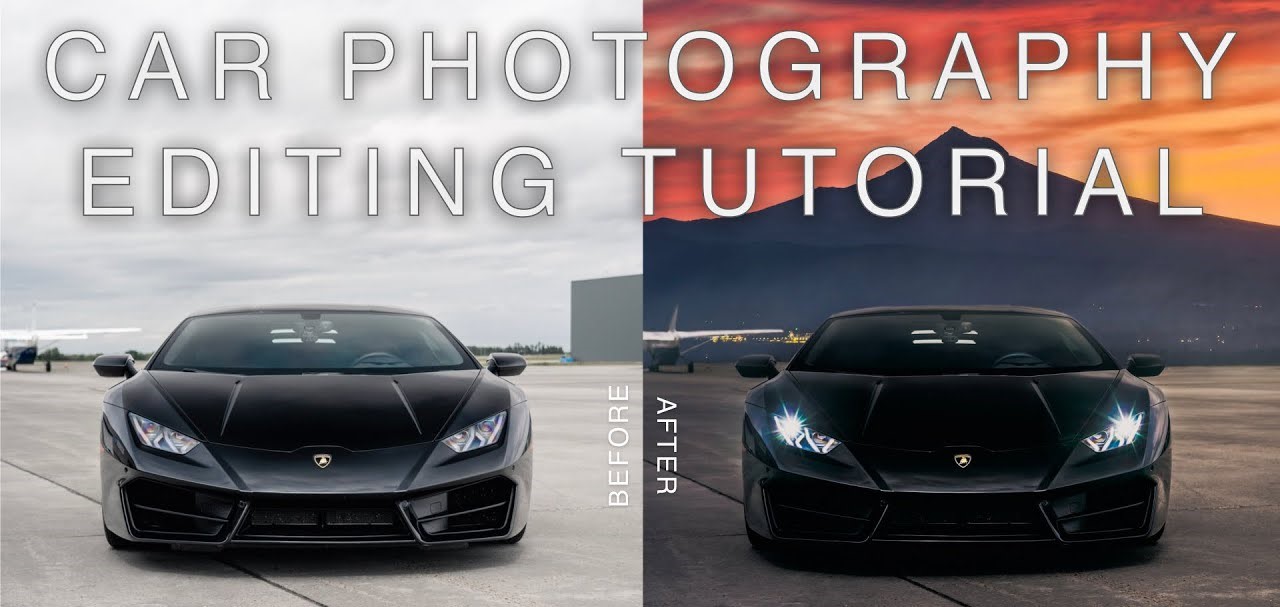
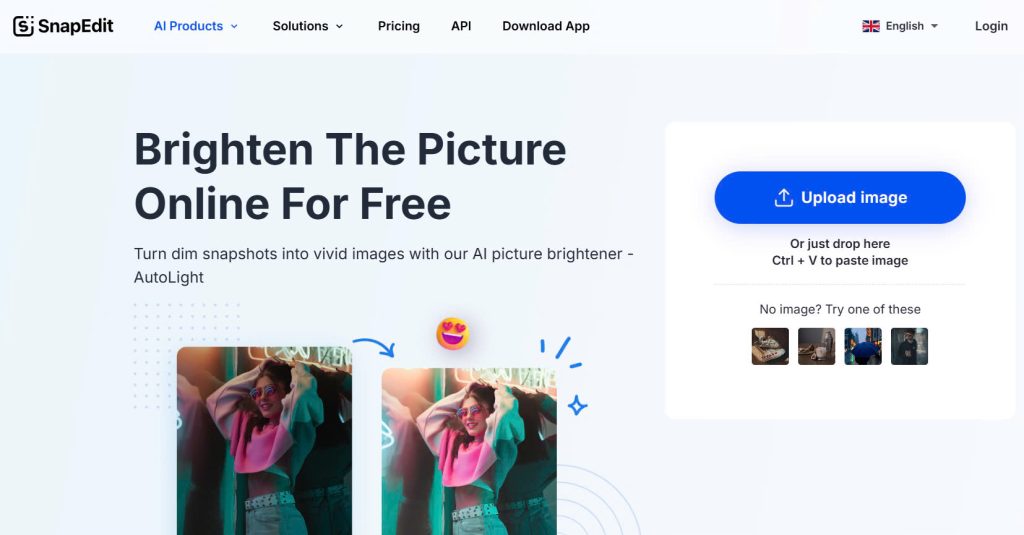
SnapEdit’s AutoLight feature is an excellent tool for car photo editing, especially when it comes to enhancing exposure and lighting with ease. This AI-powered tool automatically analyzes the image and adjusts the lighting to improve brightness, contrast, and highlight/shadow balance. This is especially useful for car photos taken in challenging lighting conditions, such as during sunset or in dim environments.
AutoLight helps to enhance the car’s details which might be hidden due to poor lighting
With no technical skills required, you can achieve professional lighting adjustments with a few clicks. By using AutoLight, you can avoid manual adjustments and achieve a professionally lit image with minimal effort.
To use SnapEdit AutoLight, simply upload your car image, and choose between Warm tone or Cool tone light, the tool will automatically apply enhancements. It’s a time-saving way to make sure your car photos always look perfectly lit and eye-catching.
Removing unwanted objects and imperfections
When it comes to car photography, it’s essential to ensure that the car looks as pristine as possible. This means eliminating any imperfections that may distract from the vehicle’s beauty. Whether you’re preparing images for a dealership website, online auction, or car magazine, your goal is to present the vehicle in its best light.
Distractions such as reflections, pedestrians, or objects in the background can take the attention away from the car itself – so the best car photo editing tips are retouching and removing any unwanted objects from the photos.

Remove any unwanted objects or people for a professional car photo
SnapEdit’s Remove Object tool uses AI to automatically identify and remove objects from images with minimal effort. This allows for a much faster and more efficient process compared to manual editing techniques. The tool ensures that the areas where the object is removed are filled in naturally, ensuring a smooth and realistic look without visible traces.
SnapEdit’s intuitive design makes it accessible to both beginners and advanced users. There’s no need for complex editing skills – just upload your image, select the object, and let the tool do the work.
SnapEdit Remover tool is particularly useful in removing clutter from backgrounds, such as power lines, pedestrians, or other vehicles, to ensure that the car is the focal point of the image. With objects removed and distractions eliminated, the car photo looks more polished and high-quality, making it more appealing to potential buyers or clients.
Enhance car paint and body features
In car photo editing, the paint and body of the car are often the focal point, so ensuring they appear vibrant and flawless is essential. Enhancing these features involves refining the colors, correcting imperfections, and making sure the car’s texture and reflections stand out.
Use color correction tools to make the car’s paint appear more vivid. You can adjust the hue, saturation, and brightness to create a more dynamic look that catches the eye. For example, a red car might look more striking if the hue is slightly boosted to create a deeper, richer tone.
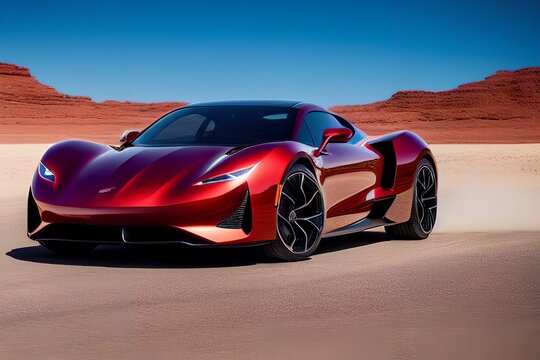
Enhance colors and contrast to make the car stand out
Increasing contrast in the image helps create depth, making the car stand out from its background. Adding contrast also emphasizes shadows and highlights, giving the photo a more dynamic, professional look.
Use creative backgrounds in car photo editing
While a clean, neutral backdrop can work wonders for product photography, using creative backgrounds or replacing the existing one can add extra flair and help create a specific atmosphere or mood.
A plain background, often white or a simple color gradient, ensures that the focus remains entirely on the vehicle itself. For showcasing the car’s details, this type of background is ideal. If you’re aiming to make the car look dynamic, consider replacing the background with one that reflects the car’s intended use. For instance, a sports car can look more appealing against a fast-moving city skyline, while an off-road vehicle can be showcased in rugged terrain.
For car dealerships or brands, using backgrounds that align with the brand’s identity or desired aesthetic can significantly enhance the appeal of the car photos. This could involve adding a branded environment, like a showroom or a lifestyle setting.
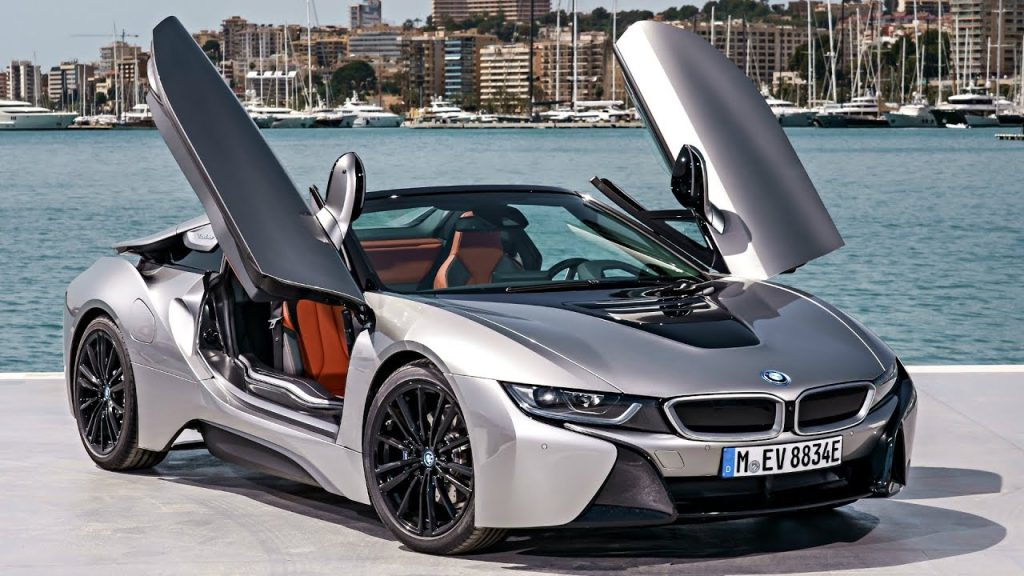
Suitable background can make your car photo look stunning
Many tools, like SnapEdit’s Background Remover, allow you to easily isolate the car from the original background and replace it with something more fitting. After removing the old background, you can use a new setting that complements the car’s features.
SnapEdit uses advanced AI technology to detect and separate the car from its background, even in complex images. This ensures that the edges are smooth and the vehicle’s details remain intact. After removing the background, you can choose from hundreds of premade backgrounds or upload your own creative backdrops to enhance the image. The automated process significantly reduces the time spent manually editing or masking backgrounds, making it perfect for professionals or those in a rush.
Focus on reflections and details
In car photo editing, emphasizing the car’s details and reflections can transform a simple image into something striking and visually appealing. These elements contribute to the overall aesthetics of the photo and highlight the car’s design features.
When editing, focus on certain car parts that define its identity. Key elements like the wheels, grille, or logo can be emphasized by adjusting contrast and sharpness. By subtly enhancing these details, you draw the viewer’s attention to the vehicle’s unique features. For instance:
- Wheels and tires: Increase contrast around the wheels to make them stand out, giving them a glossy, polished appearance.
- Grille and emblems: Boost clarity around the grille and any badges to give them a sharper, more defined look, emphasizing the car’s branding.
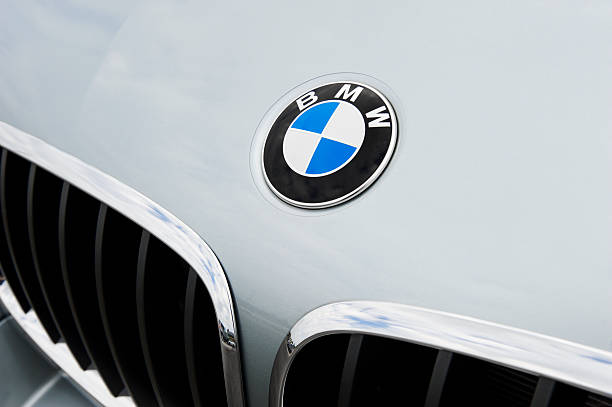
Highlight the car’s design features by sharpening details
Reflections on windows, chrome parts, and even the vehicle’s body panels can enhance its design and shape. In some settings, like a showroom or outdoor environment, these reflections can add depth and dimension to the car, creating a dynamic visual effect. Adjust the exposure to control how reflections appear, adding a sleek shine to the car’s surface.
You can use selective editing tools like Adobe Photoshop or SnapSeed to target specific parts of the image, allowing for precise enhancements to the car’s features without affecting the entire photo.
Resizing car photos for different uses
Optimizing car photos for various platforms can maximize the image’s impact. Whether it’s for a website, online ads, or social media, each platform has its own set of requirements and best practices for image resolution, size, and format.
- Websites: High-quality car images on websites should be clear and crisp, but not so large that they slow down the page’s load time. For web use, JPEG files are usually preferred due to their smaller file size, which helps ensure faster loading times. The resolution should generally be 1200×800 pixels for a standard car image.
- Social media: Social media platforms often have different size requirements for images, so resizing is key. For example:
- Instagram: Car images on Instagram should be at least 1080×1080 pixels for square posts and 1080×1350 pixels for portrait-style images.
- Facebook: For a car ad or post on Facebook, the recommended resolution is 1200×628 pixels.
- Pinterest: Use 1000×1500 pixels for vertical images, which are more likely to be shared and repinned.
- Online Ads: When using car photos in online advertisements (e.g., Google Ads or banner ads), ensuring that the image size is optimized for the platform’s requirements without compromising the quality is important. Common dimensions for banners include 300×250 pixels and 728×90 pixels.
Maintain a consistent aspect ratio across different platforms to prevent distortion. Standard aspect ratios are:
- 1:1 (square) for Instagram posts
- 4:3 or 16:9 for web and social media banners
- 16:9 is ideal for advertisements, providing a wide view of the car.
Sharpening and saving the finished car photos
After making all necessary adjustments to your car photo, it’s important to apply the final touches that enhance the image for use across various platforms. This includes sharpening the image for clarity and choosing the correct file format for the best balance of quality and file size.
Sharpening can significantly improve the clarity of a car image, especially when fine details like the wheels, grill, or logos are essential to the shot. However, it’s important to apply sharpening carefully to avoid introducing noise, which can degrade image quality. Utilize tools like SnapEdit’s Enhance feature for automatic adjustments that preserve fine details.
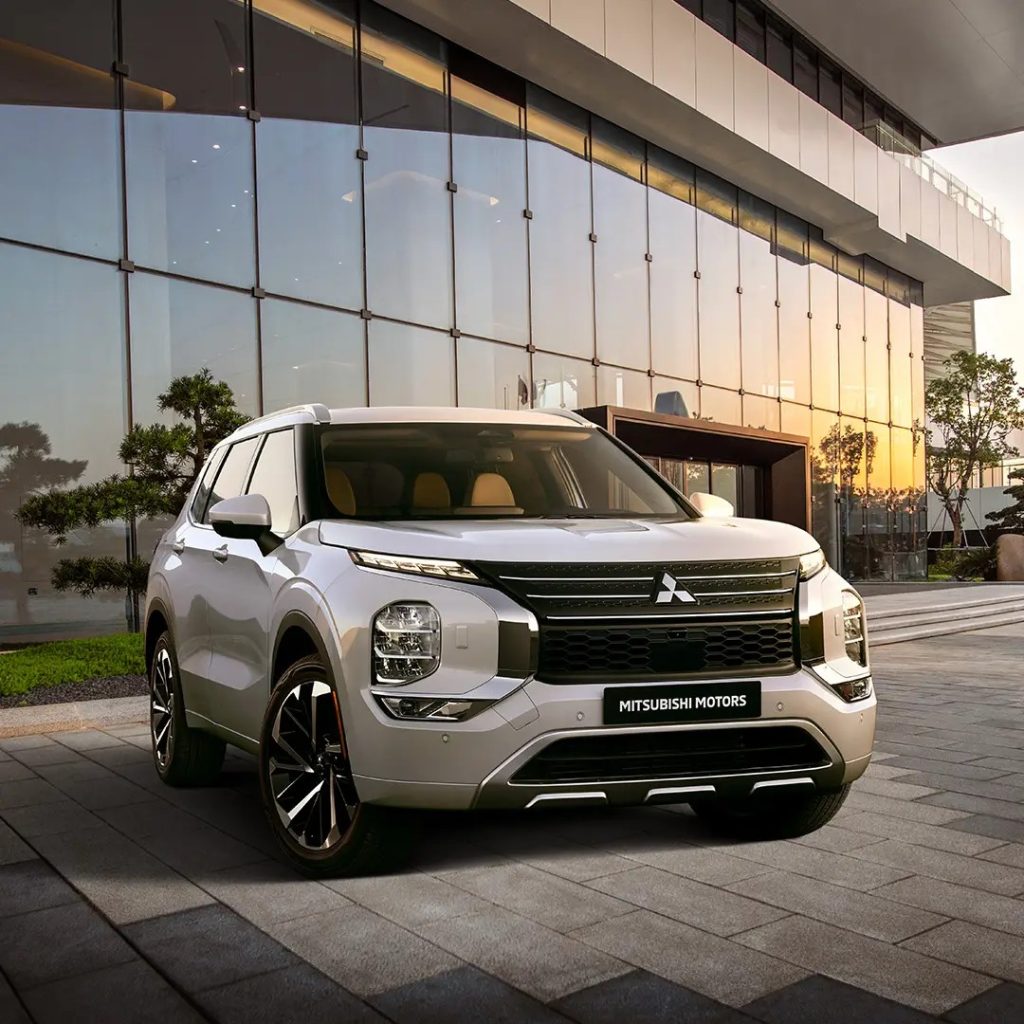
Sharpen car photos for a polished look
Choosing the right file format for saving your car photo ensures it maintains optimal quality while staying within file size limits, especially for online platforms. JPEG is the most commonly used format, offering a balance between file size and quality, making it ideal for websites, social media, and e-commerce platforms. PNG is suitable for images requiring transparency or high detail but tends to have larger file sizes. WebP offers superior compression and high image quality, making it especially beneficial for web and mobile use, where fast loading speeds are essential.
By carefully applying sharpening and saving the image in the right format, you ensure your car photo is polished, professional, and ready for use across various platforms.
Car photo editing tips 101: Let your creativity flow
Car photo editing is the key to transforming ordinary shots into captivating visuals that make your vehicle shine. Whether you’re aiming to create eye-catching content for social media, build an impressive online portfolio, or enhance your e-commerce listings, the right editing techniques can make all the difference. From perfecting lighting and exposure to removing distractions and showcasing intricate details, mastering these skills will ensure your car photos stand out.
With the help of powerful tools like SnapEdit, editing has become faster and easier than ever. Now, it’s time to put these tips into practice and elevate your car photography to new heights.