
You recorded a clip that looked sharp on your phone. Then you sent it to a friend or posted it as a YouTube Short, and it came out soft and pixelated. So what happened?
A video turns blurry when it loses detail at one of three points: while recording, while sending, or while uploading. Recording problems come from the lens, focus, light, or resolution settings. Sending and uploading problems come from compression. Once you know where the blur started, the fix is usually one setting.
If the sharp original is already gone, you can still enhance video quality with AI afterward. That works for some kinds of blur and not for others, and this guide tells you which.
When Did Your Video Turn Blurry?
Open the original file in your phone's gallery and compare it with the blurry version. The place where the blur first shows up tells you which section to read.
| What you see | Where the quality was lost | Section to read |
|---|---|---|
| The video is blurry in your own gallery | Recording | Blurry Right After Recording |
| Sharp on your phone, blurry on the other person's phone | Sending | Blurry After Sending |
| Sharp file, blurry on YouTube, TikTok, or Instagram | Uploading | Blurry After Uploading |
Blurry Right After Recording
A video that is blurry in your gallery lost its quality at the camera. If only one clip is blurry, the cause is usually focus, light, or movement.
If you keep asking "why are all my videos blurry?", look at the things that stay the same between clips: the lens, the resolution setting, and the way your phone stores files.
The lens is dirty or the focus missed the subject
Phone lenses collect fingerprints and pocket lint all day. A smudged lens scatters light across the frame, so the whole video looks hazy. A scratched lens protector does the same thing.
Focus is the other half. Autofocus sometimes locks onto the background, or keeps searching when the subject moves close to the camera.
Fix: Wipe the lens with a soft cloth before you record. Tap the subject on screen to set focus. On an iPhone and most Android phones, you can press and hold to lock focus and exposure.
The scene was too dark or the camera moved
In low light, a phone camera slows its shutter and raises ISO to brighten the picture. A slow shutter smears anything that moves. High ISO adds grain, and the phone's noise reduction then smooths that grain into a soft, waxy image.
Shaky hands cause the same smear, even in good light.
Fix: Add light first. Face a window or turn on a lamp. Then steady the phone: tuck your elbows in, lean against a wall, or use a small tripod.
The camera is set to a low resolution
Most phones let you record in 720p, 1080p, or 4K, and some default to a lower setting to save storage. A 720p video looks fine on a phone and soft on a laptop or TV.
Three other habits lower resolution without you noticing. The front camera usually records at lower quality than the rear camera. Digital zoom crops the image instead of adding detail. And the built-in cameras inside social apps often record at lower quality than your phone's own camera app.
Fix: Open your camera settings and set video to at least 1080p at 30 fps. Use the rear camera when quality matters, move closer instead of zooming, and record in the camera app before importing the clip into a social app.
The screen recorder is capturing at low quality
Blurry screen recordings have two common causes.
The first is the recorder setting. On recent Samsung Galaxy phones, go to Settings, then Advanced features, then Screenshots and screen recordings. The video quality option can be set to 1080p, 720p, or 480p.
The second is the source. A screen recording can only be as sharp as what is on the screen. If a stream is playing at 480p on Auto quality, the recording captures 480p.
Fix: Set the recorder to 1080p, and set the app or video you are recording to its highest quality before you start. If the recording is sharp in your gallery and only turns blurry after you share it, the cause is in the next section.
The phone is showing a cloud preview, not the original file
When older videos in your gallery look soft, your storage settings may be the reason.
With Optimize iPhone Storage turned on, an iPhone keeps a smaller version of each video on the device and stores the full-resolution original in iCloud. The video looks blurry until the original finishes downloading.
Google Photos can have a similar effect. If you back up in Storage saver quality and then free up space on the phone, the copy you get back is the compressed one.
Fix: Connect to Wi-Fi and give the video time to load fully. To keep full-quality files on an iPhone, choose Download and Keep Originals in the Photos settings. In Google Photos, choose Original quality for backups.
Blurry After Sending
A video that looks sharp on your phone and blurry on someone else's was compressed on the way. Messaging apps and mobile carriers shrink video files so they send faster and use less data. Your original is still fine, so you can send it again a better way.
Messaging apps compress every video they send
WhatsApp, Messenger, and most chat apps re-encode video at a lower resolution and bitrate by default. A large 4K clip can arrive as a file of just a few megabytes.
Fine detail goes first. Hair, grass, and small text turn into soft blocks, while large flat areas still look fine.
Android text messages shrink video through MMS
If your videos are blurry on Android when you text them, check which kind of message you are sending.
When a chat falls back to SMS and MMS, the video travels over your carrier's MMS system. MMS limits a file to a few megabytes, and the exact limit depends on the carrier. Your phone squeezes the video hard to fit, which is why a texted video can look far worse than the original.
This happens most often in chats between Android and iPhone that are not using RCS. In Google Messages, the text box shows "RCS message" when RCS is active. RCS chats send much larger files, so videos keep far more detail.
Sending the video as a file or link keeps the original quality
- WhatsApp: tap the HD option before sending, or attach the video as a document.
- Cloud link: share a link from Google Photos, iCloud, or Google Drive instead of the video itself.
- RCS: use RCS chats in Google Messages when both phones support them.
- Nearby transfer: Quick Share on Android and AirDrop on Apple devices send the original file.
Blurry After Uploading to YouTube Shorts, TikTok, or Instagram
Every social platform re-encodes the video you upload. YouTube, TikTok, and Instagram each create several smaller versions and show viewers the one that fits their connection.
Some of this blur clears up by itself, some comes from an app setting, and some comes from the file you exported.
YouTube is still processing the HD version
YouTube processes a low-resolution version of your video first, so the upload goes live quickly. Higher resolutions take longer. Right after you post, a Short may only play at 360p or 480p.
Fix: Wait, then check again. Short clips often get their HD version within minutes, while long or 4K videos can take hours. Tap the gear icon and open Quality to see which resolutions are ready.
If you don't want viewers to see the blurry version, upload the video as Unlisted and make it public once HD appears. Also check your own playback, because Data saver mode in the YouTube app lowers quality on your side only.
High-quality upload is switched off in TikTok or Instagram
Both apps can reduce upload quality to save mobile data, and both let you turn that off. Menu names move between app versions, so look for the wording below.
- TikTok: on the Post screen, open More options and turn on Allow high-quality uploads. Then turn off Data Saver in the app settings.
- Instagram: open Settings, find Media quality, and turn on Upload at highest quality.
The export settings are too low for the platform
Your video gets compressed twice: once when you export it from an editing app, and again when the platform processes it. A low-bitrate export has little detail left after the second round.
| Setting | Recommended for vertical video |
|---|---|
| Resolution | 1080 x 1920 (9:16) |
| Frame rate | Same as the source, usually 30 fps |
| Format | MP4 with H.264 |
| Bitrate | About 8 Mbps for 1080p at 30 fps, about 12 Mbps at 60 fps |
Always upload from the original file. A video you downloaded from TikTok or Instagram has already been compressed, so posting it again compresses it a second time. If you also post stills, here is how to reformat photos for each social media platform.
Can You Fix a Video That Is Already Blurry?
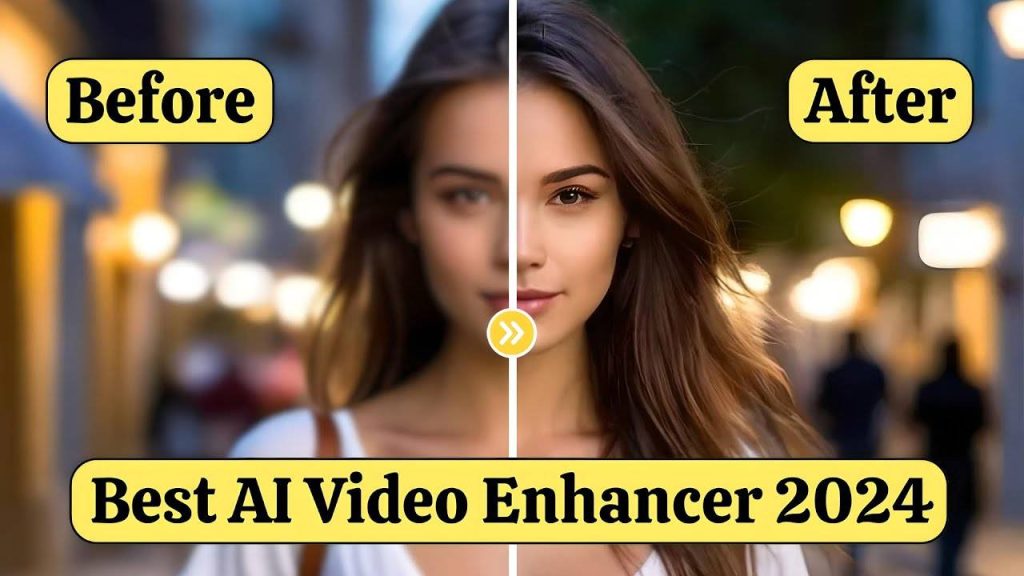
Sometimes. An AI video enhancer rebuilds detail by upscaling each frame and removing noise and compression artifacts. It works best on videos that were sharp when recorded and lost quality later. It can't fully recover detail the camera never captured.
| Type of blur | Can AI improve it? |
|---|---|
| Low resolution (480p or 720p) | Yes. Upscaling to HD or 2K is what enhancers do best |
| Compression from messaging apps or uploads | Usually. Blocky areas and soft edges clean up well |
| Grain from low light | Partly. Noise drops, but dark areas stay less detailed |
| Missed focus | Slightly. Edges get crisper, but the subject won't snap into focus |
| Heavy motion blur | Rarely. Smeared frames have little detail left to rebuild |
One honest caveat: AI fills in detail that looks plausible, not the detail that was really there. Faces and small text can look slightly artificial on badly damaged clips. Always preview the result before you save or pay for it.
Fix it in the SnapEdit app
SnapEdit makes this easy with its automatic enhancement, and you don't need editing experience.
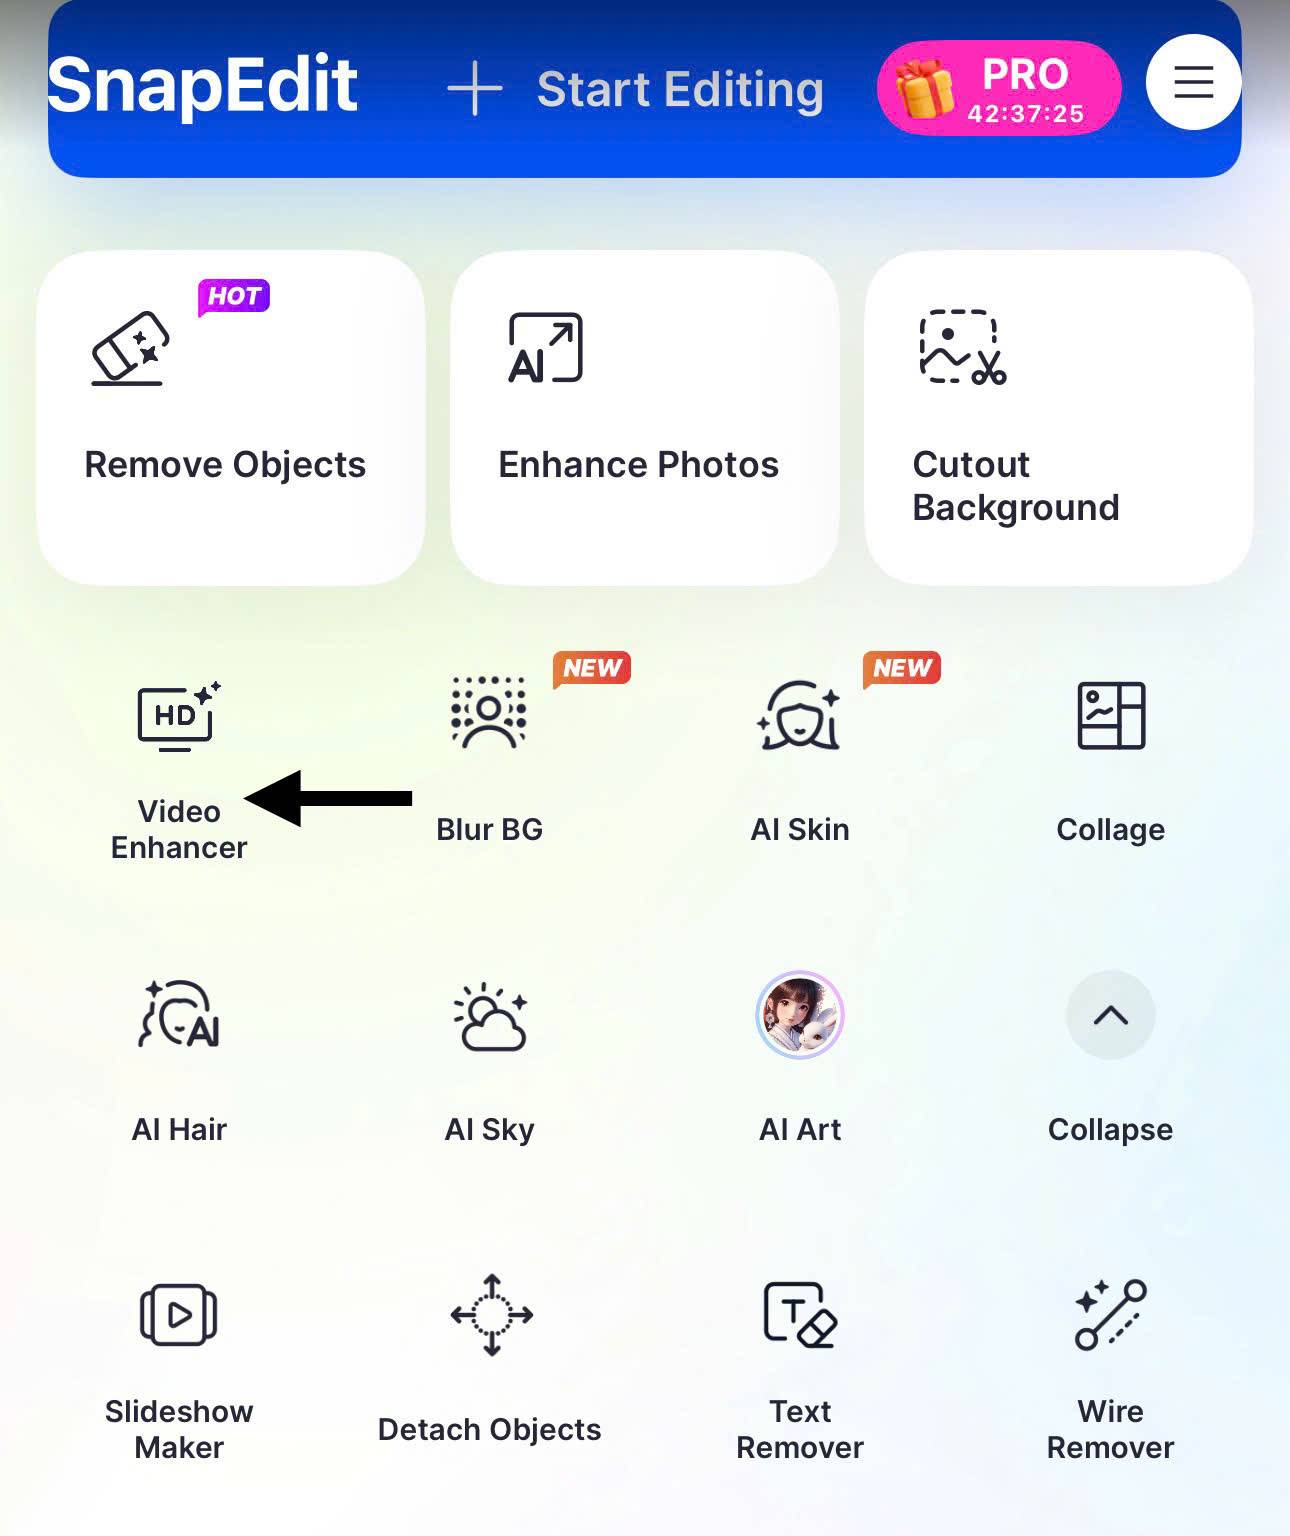
Step 1: Install SnapEdit and open Video Enhancer
Download SnapEdit from the Google Play Store or the App Store, and allow access to your photos and videos. On the SnapEdit home screen, choose the Video Enhancer option.
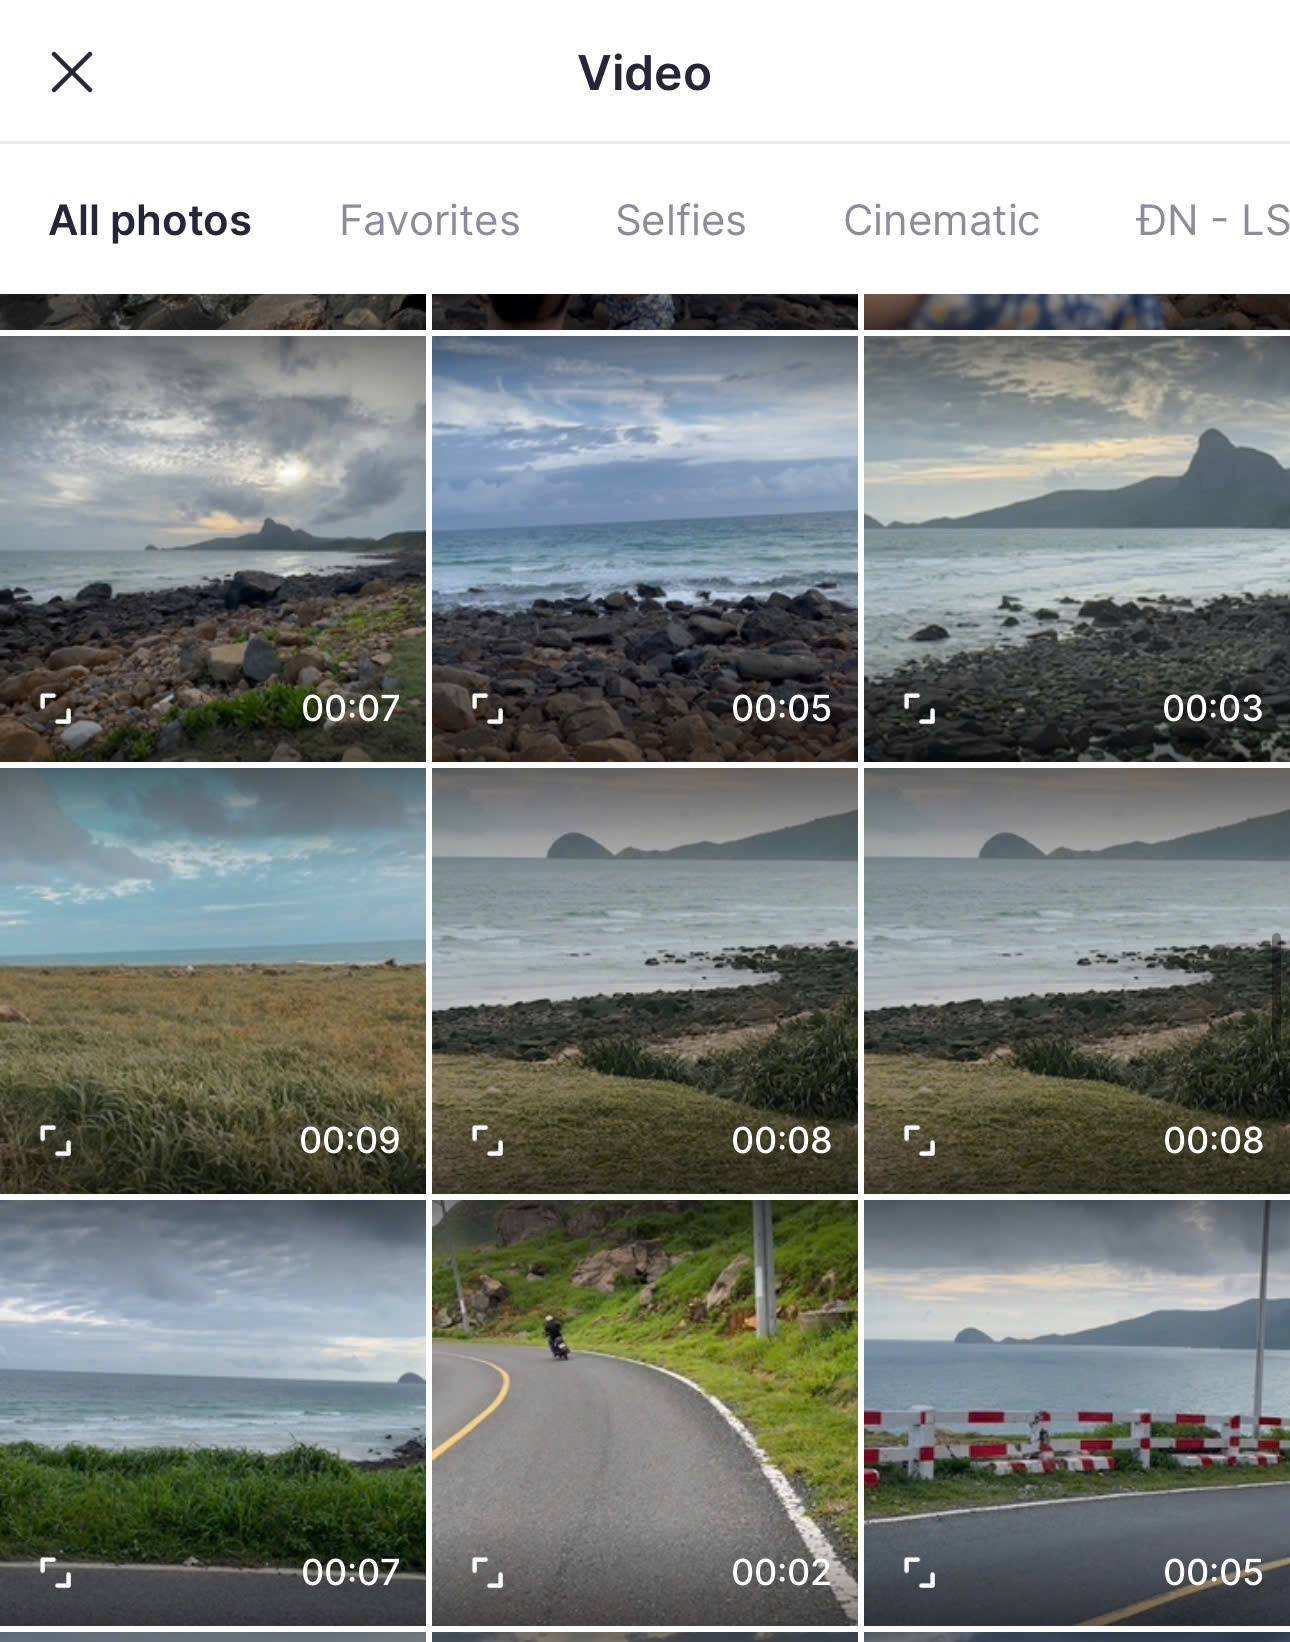
Step 2: Choose and import your video
The app will automatically show your album on the screen. Browse your gallery to find the blurry video and select it.
Step 3: Pick a resolution and start
After your video is imported, choose the resolution that best suits your needs. You can choose between HD and 2K quality. The HD option is free, and 2K unlocks with SnapEdit Pro.
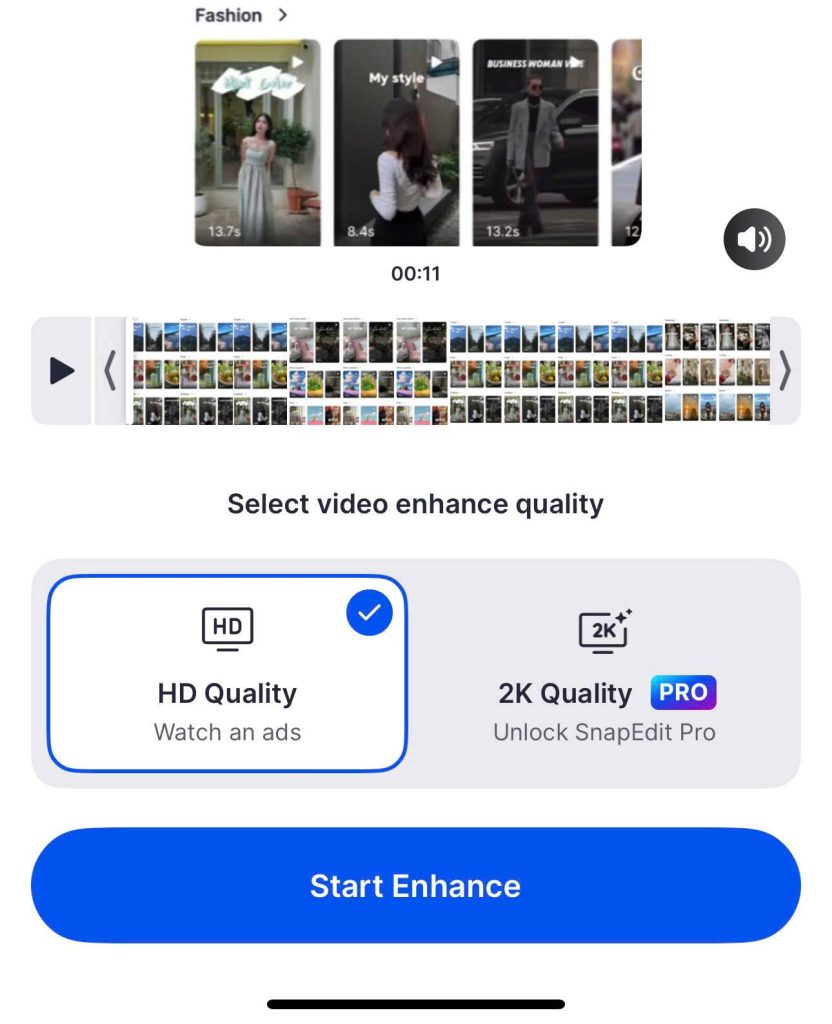
Tap Start Enhance and wait a few minutes for SnapEdit AI to analyze and enhance your video. The wait time depends on network speed and file size.
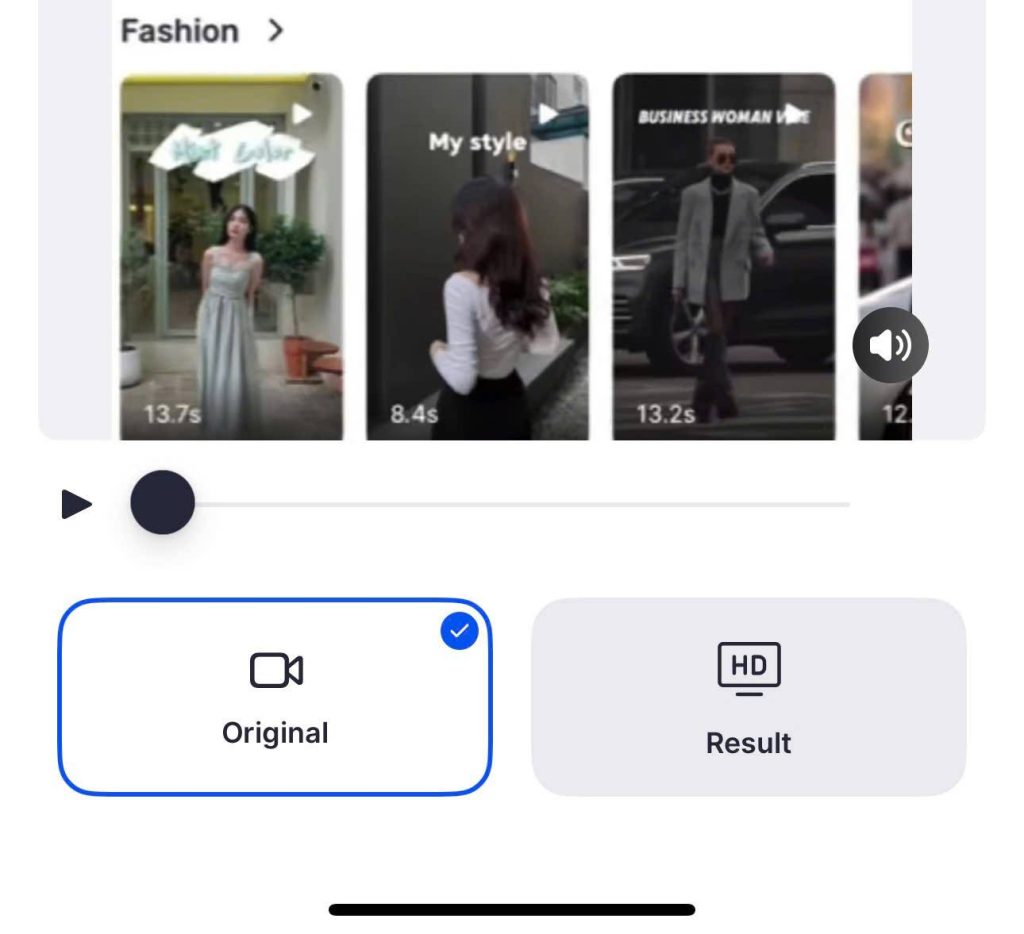
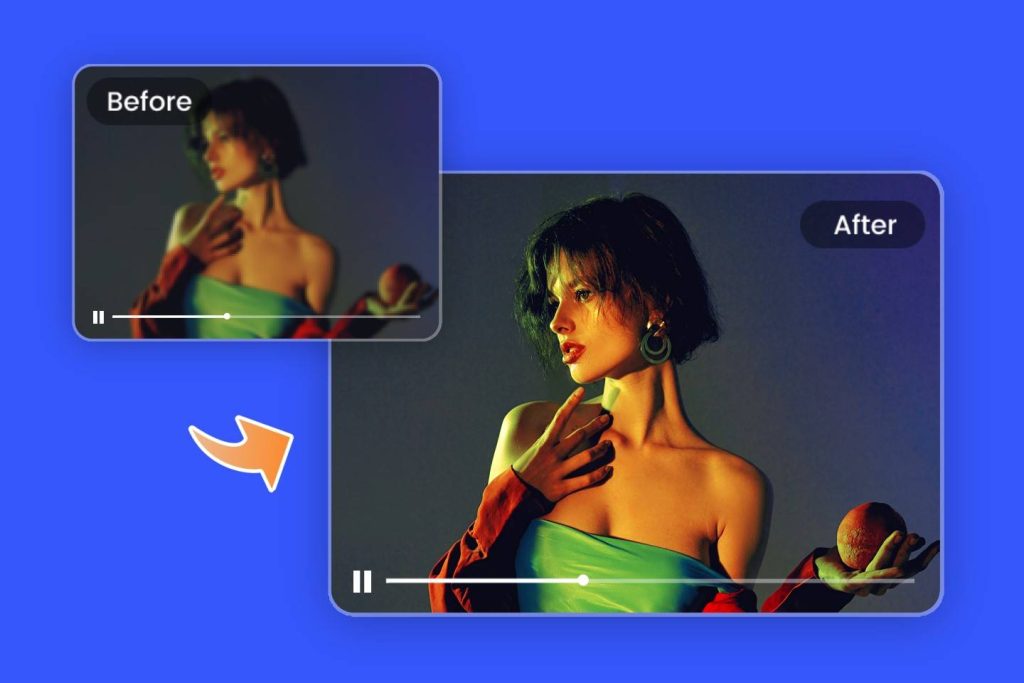
SnapEdit then lets you compare the original and the HD result side by side. Play it back and check faces, text, and edges.
Step 4: Export the enhanced video
Almost done. Once you are satisfied with the result, tap Save in the top left. SnapEdit will process the video and confirm once it is saved to your album.
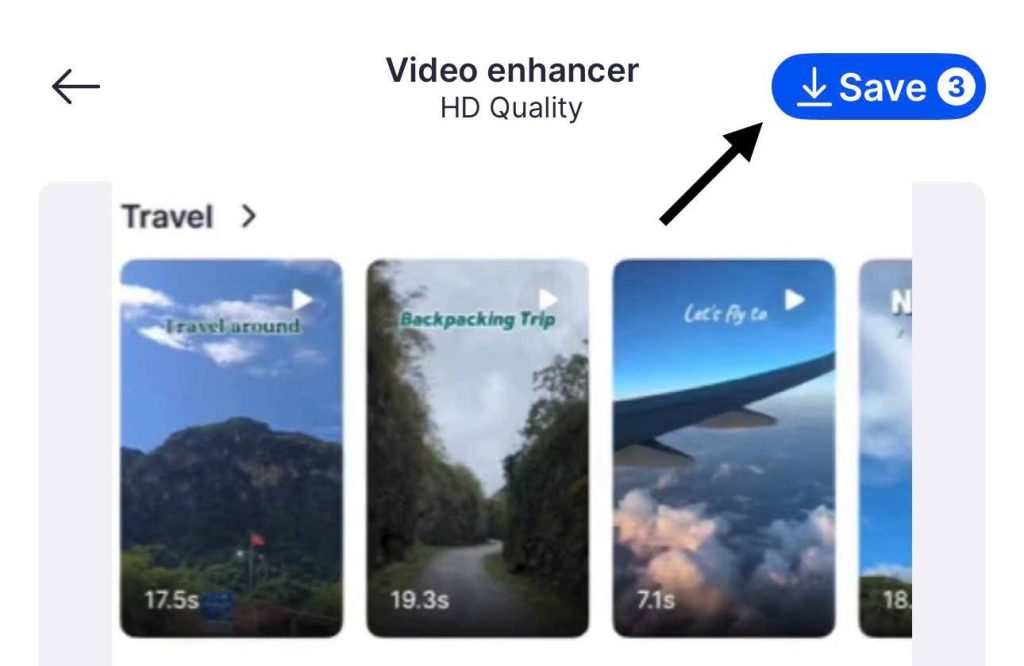
The enhanced video stays available for 24 hours so you can download it. After that, it is deleted from the SnapEdit server to protect your privacy.
Fix it on the web
Don't want to install anything, or working from a desktop? SnapEdit's AI video enhancer runs the same AI right in your browser, with no download required.
Step 1: Upload your video and preview the result
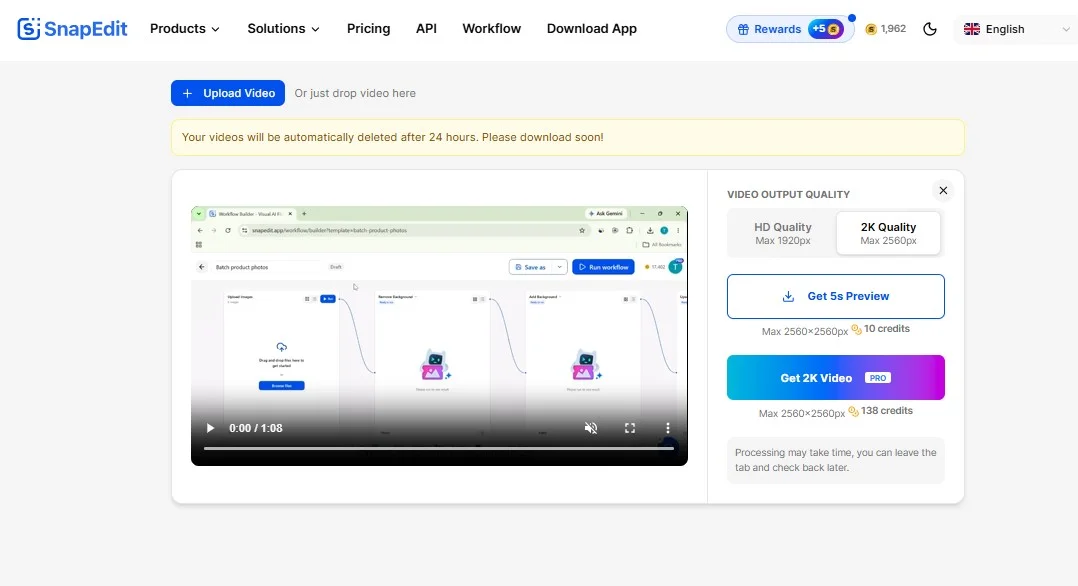
Upload your clip on the video enhancer page. SnapEdit generates a 5-second preview first, so you can see the quality before committing to the full export. The preview costs 5 credits.
Treat the preview as a test. If those 5 seconds don't look clearly better, the full video won't either, and you have saved your credits.
Step 2: Get your full video
Happy with the preview? Click Get Full Video and pick your resolution:
- HD: 1 credit per second of video
- 2K: 2 credits per second of video
So a 30-second clip costs 30 credits in HD, or 60 credits in 2K.
FAQ
Why are my videos blurry on Android?
Android videos usually turn blurry for one of two reasons. The camera or a social app is recording at a low resolution, or the video was texted over MMS, which shrinks the file to a few megabytes. Set the camera to 1080p, and send videos through RCS, WhatsApp HD, or a cloud link.
Is SnapEdit's video enhancer free?
SnapEdit offers both free and premium versions. On the app, the free version gives you HD enhancement, while 2K quality unlocks with SnapEdit Pro. On the web, enhancement is credit-based: a 5-second preview costs 5 credits, and the full export costs 1 credit per second in HD or 2 credits per second in 2K.
Does SnapEdit keep my videos?
No. Your enhanced video stays on the SnapEdit server for 24 hours so you can view and download it. After 24 hours it is deleted, and SnapEdit doesn't keep a copy of your original or enhanced media.

![[A-Z guide] What Video Editing Software Do YouTubers Use?](https://assets.snapedit.app/blog/what-video-editing-software-do-youtubers-use/cover/0a65547413857344.jpg)