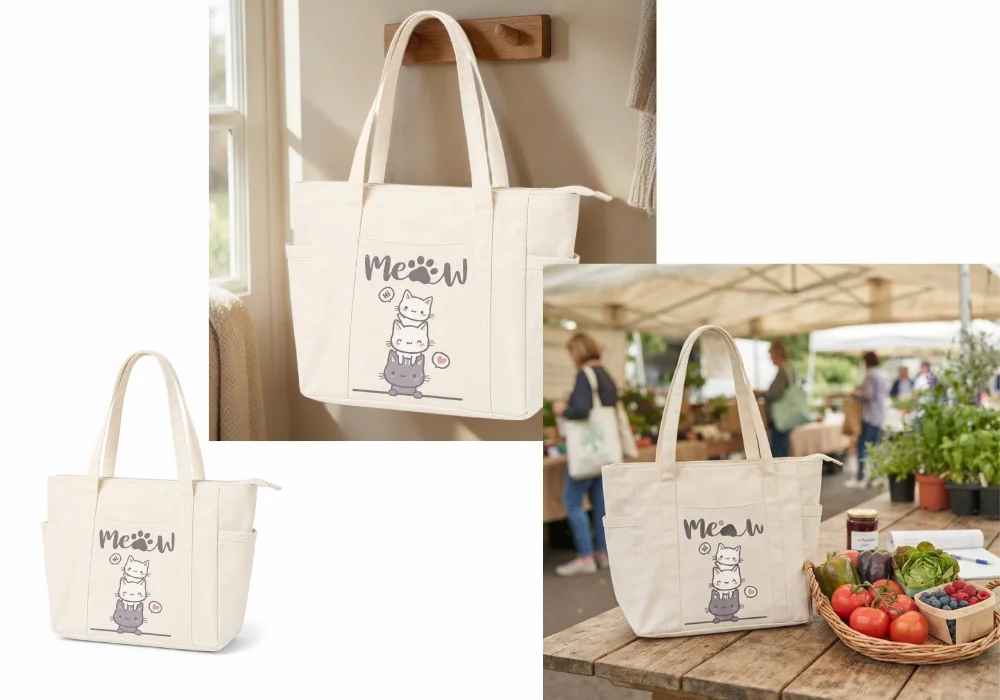
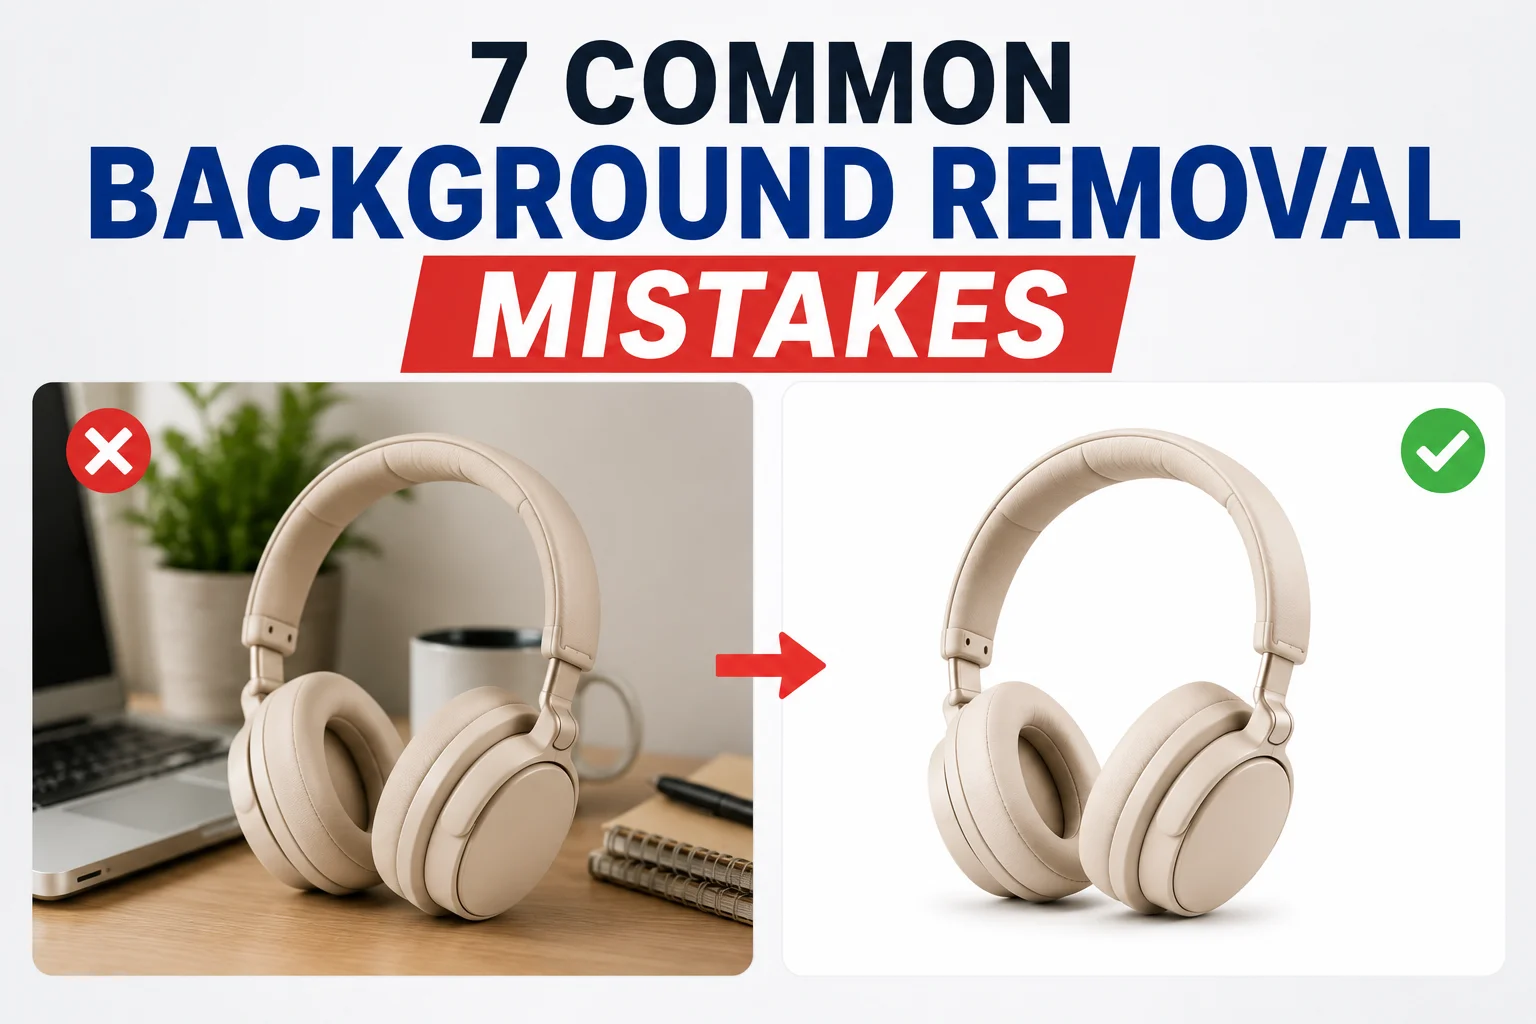
While removing a background is easier than ever thanks to new technology, achieving a clean, natural result isn't always automatic. You may end up with rough edges, missing strands of hair, a subject that looks like it's "floating," or a replacement background that simply doesn't feel right.
Let's walk through eight of the most common background removal mistakes, explain why they happen, and show you how to make it easier to achieve clean, professional-looking results with minimal effort.
Mistake #1: Starting with a low-quality image
Background removal works best when the AI can clearly distinguish the subject from its surroundings. If the original image is blurry, heavily compressed, or low in resolution, those boundaries become much harder to detect.
For example, a blurry portrait may have soft edges around the hair, while a low-resolution product photo can make small details blend into the background. As a result, the final cutout may look jagged, uneven, or missing important parts of the subject.
Whenever possible, start with the original image instead of a screenshot or a heavily compressed version downloaded from social media or messaging apps.
Modern AI background removers like SnapEdit are trained to recognize subjects even in less-than-perfect images, making them much more forgiving than traditional manual selection tools. However, giving the AI a clear, high-quality image will almost always produce cleaner edges and a more natural-looking result.
Mistake #2: Saving your image in the wrong file format
You've successfully removed the background, and your image looks perfect, until you save or upload it. Suddenly, the transparent background turns white, the file size becomes unnecessarily large, or the image loses quality after multiple exports.
The two most common image formats each serve a different purpose.
| Format | Supports transparency | Best for |
|---|---|---|
| PNG | Yes | Placing your subject on different backgrounds later, graphic design, presentations, websites |
| JPEG | No, fills transparent areas with a solid color (usually white) | Photos with a finalized background, smaller files for websites, social media, email |
Use PNG for a transparent background when you want to keep editing the image later. Use JPEG once the background has already been finalized and you want a smaller file.
Mistake #3: Choosing an unrealistic replacement background
One of the most common mistakes is replacing the original background with something that doesn't match the subject. A formal business portrait on a tropical beach, a product photo floating in an elaborate living room, or a pet surrounded by an unrealistic fantasy scene can quickly make the edit feel artificial.
Before choosing a new background, think about where the image will be used.
- White backgrounds are ideal for e-commerce listings and product catalogs, where the focus should stay entirely on the product. Try a white background for a clean, catalog-style look.
- Neutral backgrounds work well for professional portraits, presentations, and websites.
- Lifestyle backgrounds help create context for social media posts, marketing materials, or fashion photography. We covered this in more depth in our guide on removing backgrounds for secondhand clothing photos, where the right background choice actually changes depending on the marketplace.
- Transparent backgrounds are perfect for graphic design, logos, and creative projects where the subject will be placed on different layouts.
Finding the right background often takes a little experimentation, and that's where SnapEdit Background Remover becomes especially useful.
Instead of locking yourself into a single option, SnapEdit lets you instantly swap between different background styles using the same cutout. You can choose from clean white backgrounds for online stores, subtle neutral backgrounds for professional use, lifestyle scenes that add context, transparent backgrounds for design work, or even upload your own custom image.
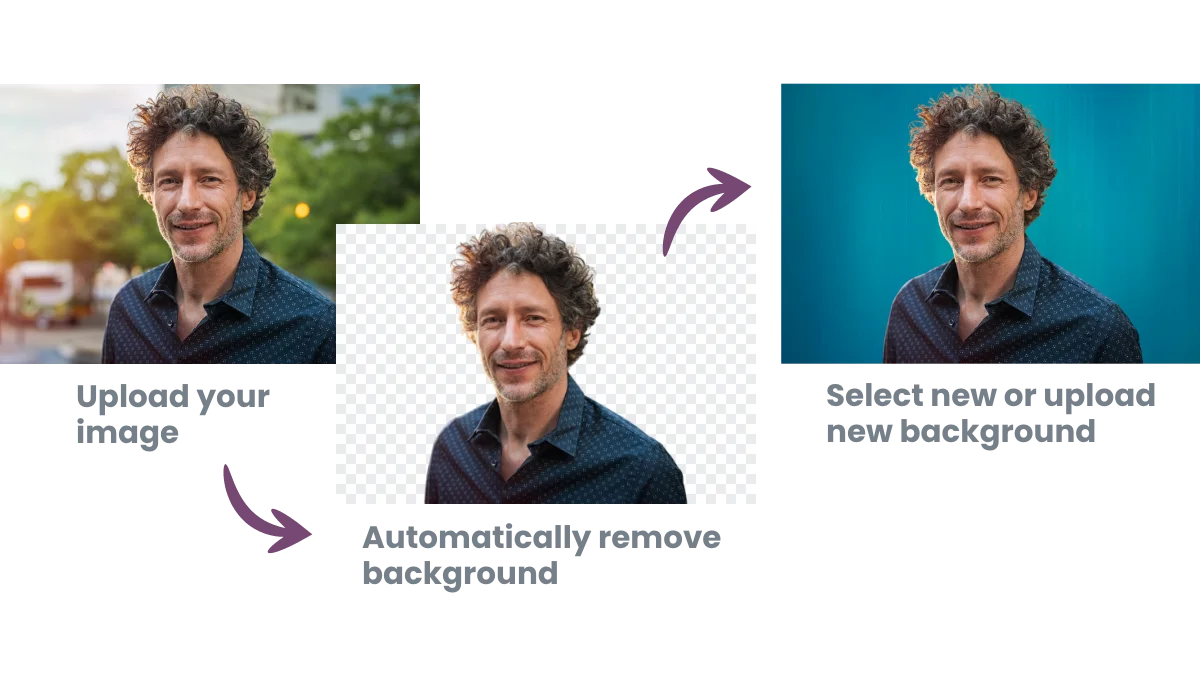
With a library of 1500+ background templates, you can quickly compare different looks without repeating the background removal process. This is especially helpful if you're preparing the same photo for multiple purposes: a white background for an Amazon product listing, a lifestyle background for Instagram, and a transparent version for marketing materials.
Mistake #4: Ignoring fine edges and using the wrong model for the job
While objects with clean outlines are usually easy to cut out, fine details such as hair, fur, lace, feathers, tree branches, or transparent materials require much greater precision. These elements often contain tiny strands, soft transitions, or semi-transparent areas that can easily be lost during background removal.
This is why you sometimes see portraits with missing hair, pets with unnatural-looking fur, or glass objects outlined by rough, jagged edges.
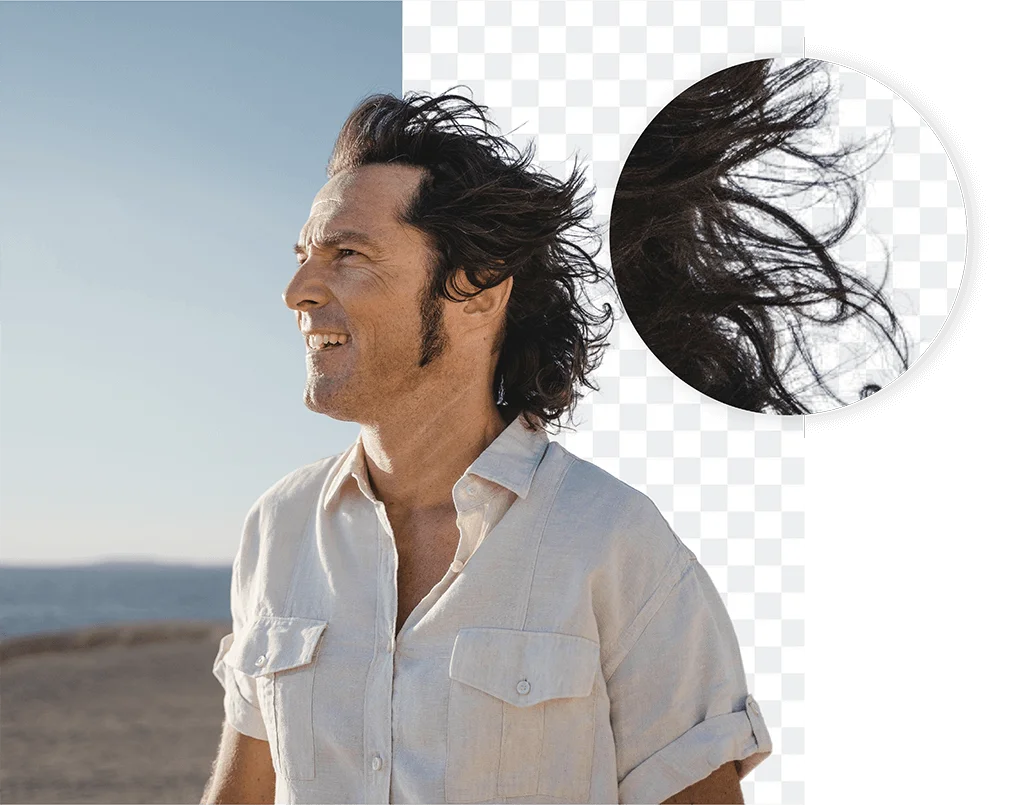
Modern AI background removers, including SnapEdit, are trained to recognize complex subjects rather than relying solely on color differences. This allows them to preserve fine details like hair, fur, and delicate textures much more accurately than traditional one-click selection tools.
For a closer look at how that plays out in practice, our side-by-side API benchmark shows exactly where SnapEdit and five other tools succeed or fail on hair, transparency, and fine detail.
There's a second, less obvious version of this mistake: using a general-purpose model for an image type it wasn't built for. A model trained mostly on people and everyday objects can handle a portrait or a product photo well, but it often struggles with logos, icons, or flat graphic artwork, where edges are sharp, colors are solid, and there's no natural texture to read.
If you're cutting out a logo, illustration, or graphic asset, look for a tool with a background remover built specifically for graphics rather than the general photo model. Using the right model for the right image type is often the difference between a clean cutout and one that needs manual touch-ups.
While no background remover can guarantee perfect results for every image, AI has dramatically reduced the amount of manual cleanup required, making it much easier to achieve clean, natural-looking cutouts, even for some of the most challenging subjects.
Mistake #5: Forgetting natural shadows
Every object casts a shadow depending on the direction and intensity of the light source. These shadows visually anchor the subject to the ground or nearby surfaces, making it feel like it truly belongs in the scene.
Without them, the subject can appear to hover above the background, giving the image an obvious "cut-and-paste" look.
The most important shadow isn't always the large one behind the subject, it's often the subtle contact shadow where the object touches the surface beneath it. For example, a shoe resting on the floor, a coffee mug on a table, or a person standing on the ground should all have soft shadows that connect them to their environment. Preserving or recreating these shadows can dramatically improve the realism of the final edit.
Sometimes the difference between an edit that looks obviously fake and one that looks completely natural comes down to a single, subtle shadow.
Mistake #6: Cropping too tightly before removing the background
When preparing an image for background removal, it's tempting to crop away all the empty space around the subject first. After all, it seems like a cleaner, more efficient way to edit. In reality, cropping too tightly can make background removal more difficult.
Background removal tools work by identifying the boundaries between the subject and its surroundings. When the subject is pressed right against the edge of the image, the AI has less visual context to determine where the object begins and ends.
This can increase the chance of clipped edges, incomplete selections, or small details being accidentally removed. Leaving a small margin around the subject gives the AI more information to work with, often resulting in a cleaner and more accurate cutout.
Once the subject has been cleanly separated, you have much more flexibility to resize, reposition, or crop the image for different uses.
Mistake #7: Downloading from a free tool without checking the resolution
Free background removers are everywhere, and many of them do a decent job on the cutout itself. The mistake happens after: most free tiers cap the size of the file you're allowed to download. The preview on screen looks sharp, but the actual export is often a small, compressed version of it.
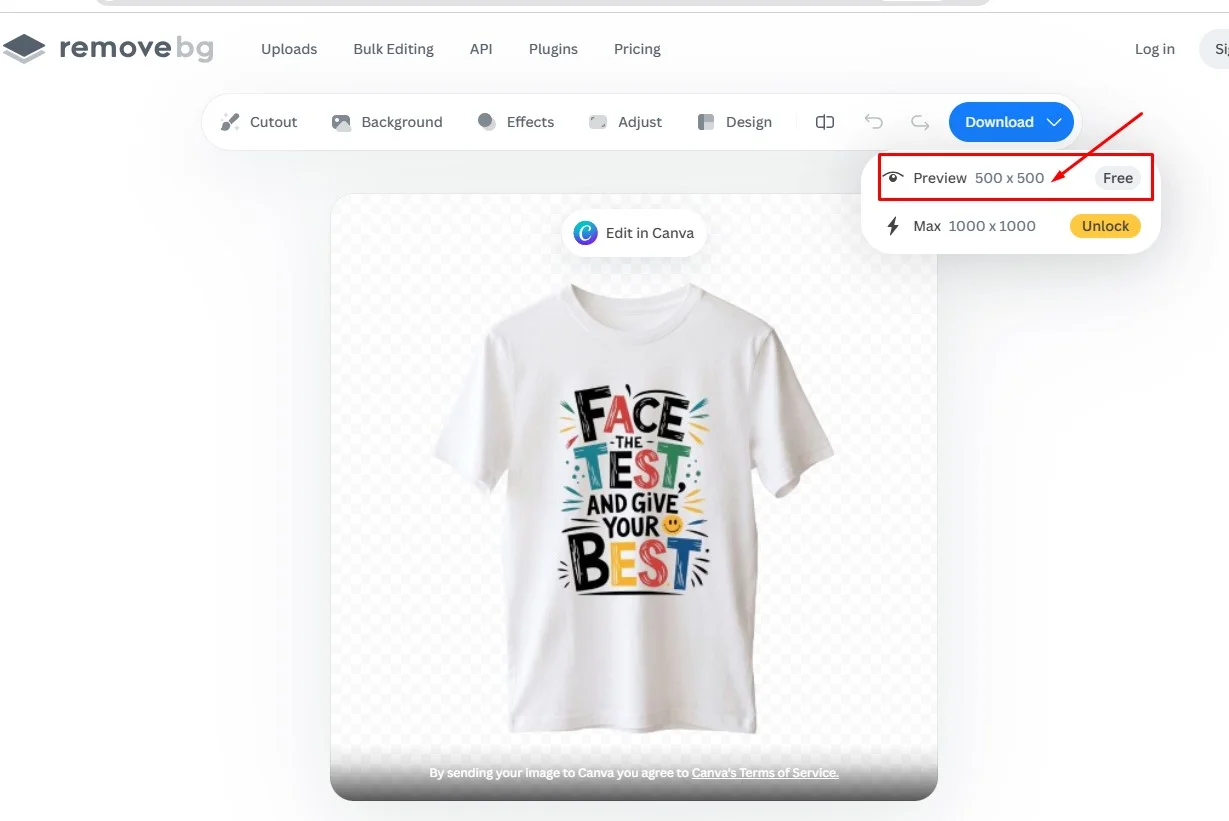
That's fine if the image is only going into a quick social post. It's a real problem if you're uploading it straight to a product listing, a website banner, or anything that gets displayed larger than a thumbnail. A capped-resolution export can look pixelated, blurry, or noticeably soft the moment it's placed on a real page.
Before you commit to a tool for anything customer-facing, check what resolution it actually exports at, not just what the editor preview shows you. If you're working with an image that's already small or low-res to begin with, consider running it through an image enhancer before or after background removal to keep the final file usable at full size.
Mistake #8: Treating background removal as the finished image
Removing the background is often the most noticeable part of the editing process, but it's rarely the last step. A clean cutout gives you a solid foundation, but the final image may still need a few finishing touches before it's ready to share, publish, or print.
Depending on your project, you may want to:
- Replace the background with one that better suits the image's purpose.
- Resize the canvas for different platforms or aspect ratios.
- Enhance the image to improve sharpness and clarity.
- Adjust the brightness, contrast, or lighting so the subject blends naturally into the new background.
Background removal prepares your subject for everything that comes next.
Instead of switching between multiple apps for each editing task, platforms like SnapEdit let you continue the workflow after the background has been removed. You can replace backgrounds, enhance image quality, expand the canvas, adjust lighting, and make additional refinements, all within the same editing environment.
The best background removals don't draw attention to the editing; they make people forget there was ever a background in the first place.
FAQ
Why does my background removal tool struggle with logos or graphics?
Most AI background removers are trained mainly on photos of people, objects, and animals. Logos and flat graphic artwork have sharp edges and solid colors with no natural texture, which general photo models often misread. A model built specifically for graphics handles these cases more accurately.
Why does my downloaded image look blurry even though the preview looked fine?
Many free background removal tools cap the resolution of the file you're allowed to export, even if the on-screen preview is sharp. Always check the actual export size before using the image somewhere it will be displayed at full size.
Should I always add a shadow after removing the background?
Not always, but for any image where the subject should look like it's resting on a surface (product photos, portraits, flat lays), a subtle contact shadow makes the result look far more natural.
What's the best file format after removing a background?
Use PNG if you want to keep the background transparent for further editing. Use JPEG once you've chosen a final background and want a smaller file size for web or social use.