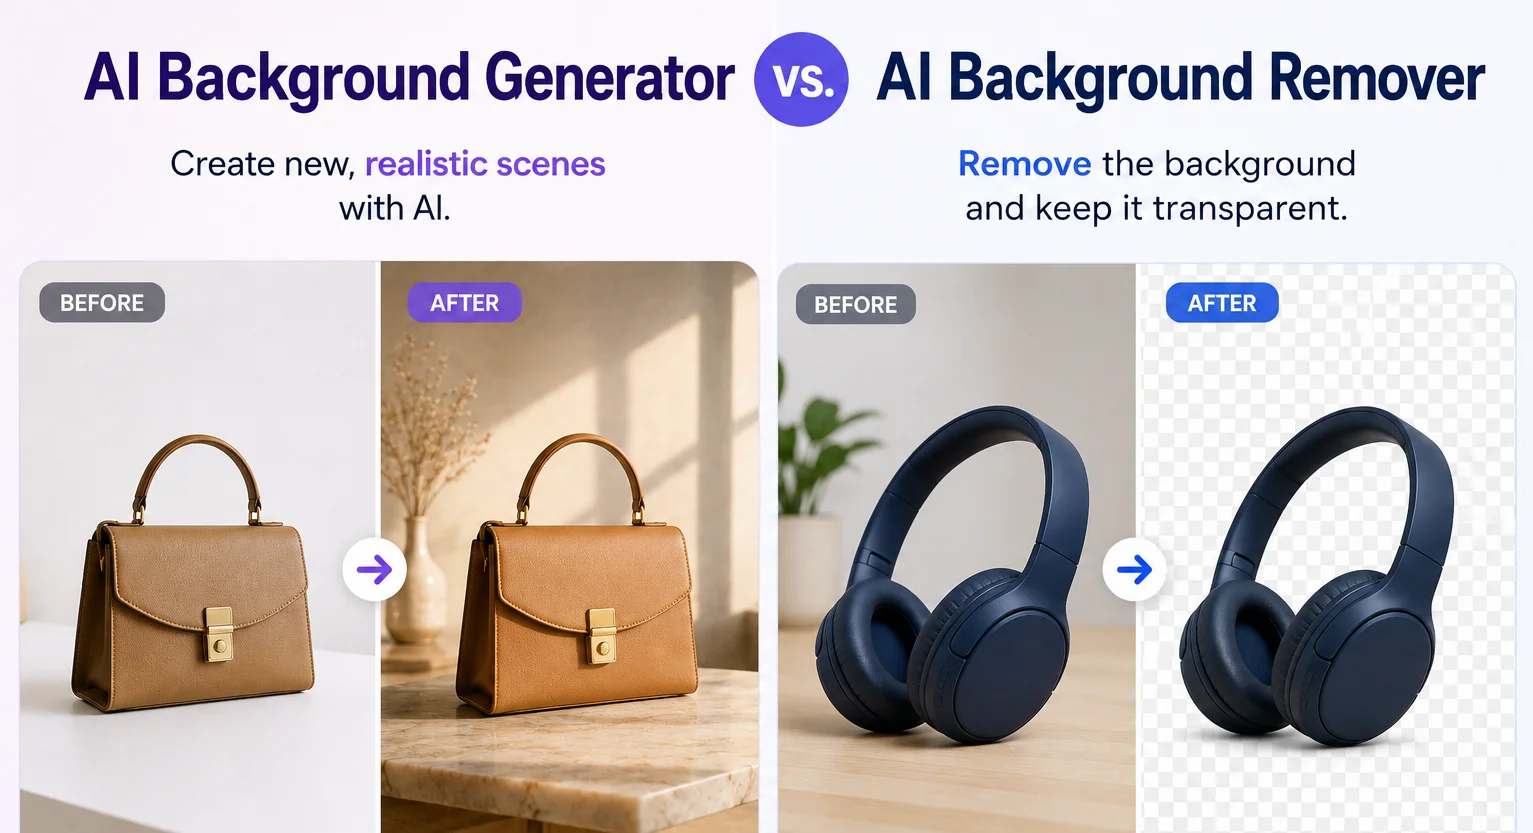

To batch generate product backgrounds, add the Generate Background step to a workflow, write one prompt, and run it across every photo. A specific prompt gives the whole catalog the same background. An open prompt lets the AI choose a different scene for each product.
This guide shows both, using SnapEdit's AI background generator inside SnapEdit Workflow. We tested each prompt style on real product photos, and the results are below.
Creating one polished product photo with an AI-generated background is easy. Doing it for 50, 100, or a few hundred products is where things get repetitive. A few scenarios where this comes up a lot:
- Launching a new collection where every product needs the same studio look before it goes live.
- Standardizing supplier photos that arrive in different lighting, angles, and backgrounds, and need to look like one cohesive catalog.
- Seasonal refreshes, swapping every product's background for a holiday or campaign look without reshooting anything.
- Preparing images for multiple platforms at once, where each channel wants a different look for the same products.
If you're running a print-on-demand or Etsy shop specifically, with the mockup-versus-print-file split that comes with it, our bulk photo editing workflow for POD/Etsy sellers covers that exact case in more depth.
How to Choose Between Similar and Different Backgrounds
Start by deciding what the finished batch should look like. The Generate Background step takes one prompt per run, so your goal decides how you write that prompt and how many runs you need.
| Your goal | Method | Runs needed |
|---|---|---|
| The whole catalog shares one matching background | One specific prompt | 1 |
| Each product gets its own fitting scene, with one brand feel | One open prompt | 1 |
| The same products appear in several looks, such as seasons or channels | One workflow per scene | 1 per scene |
| Hundreds of product and scene combinations, each fully controlled | The API, with a prompt per image | Automated |
The next sections cover each method in that order.
How to Add AI Backgrounds in Bulk With One Workflow
If you edit each image individually, you repeat the same actions over and over: upload, paste a prompt, generate, check the result. It's slow, and it's also where inconsistency creeps in. Small prompt variations between sessions lead to backgrounds that don't quite match across your catalog.
SnapEdit Workflow is a no-code visual automation tool for turning repetitive photo-editing tasks into a reusable process. You build a sequence once, upload a batch, and SnapEdit runs that same sequence across every image.

For a broader walkthrough of the builder itself, see our step-by-step guide to building an AI image editing workflow.
1. Prepare your product photos. Start with clear, well-lit photos where logos, labels, artwork, and textures are clearly visible. For the most consistent results, use source photos with similar framing and camera angles across the batch.
2. Create or choose a workflow. Open SnapEdit Workflow and start from a blank canvas or a relevant template, then build the sequence using the drag-and-drop builder.
3. Add the Generate Background step and write your prompt. This one prompt applies to every photo in the run. The next two sections show how to write it for a matching catalog or for varied scenes.
4. Add other editing steps if needed. You don't have to stop at background generation. Chain additional steps like Remove Background, Upscale, or Crop Image in the same workflow.
5. Test before you commit to the full batch. This is worth doing deliberately, not skipping. Run the workflow on a small, deliberately varied selection first, a few products with different shapes, colors, and materials, not just the easiest ones. If one product type consistently comes out wrong, it's cheaper to catch that on five images than on five hundred.
6. Upload your full batch, then run, review, and export. SnapEdit applies the same workflow to every image. Once it's done, review for product accuracy and background consistency, colors, labels, logos, artwork, proportions, lighting, and shadows, before publishing anything.

Generate Background costs 5 credits per image. A test on 5 photos uses 25 credits, and a batch of 100 uses 500. A workflow has no fixed limit on the number of photos, as long as your account has enough credits for the run.
How to Keep Backgrounds Similar Across a Catalog
To get the same background on every photo, describe one exact scene. The more specific the prompt, the closer the results match.
Use this formula:
Setting + Surface + Lighting + Mood + Composition + Product preservation
For example:
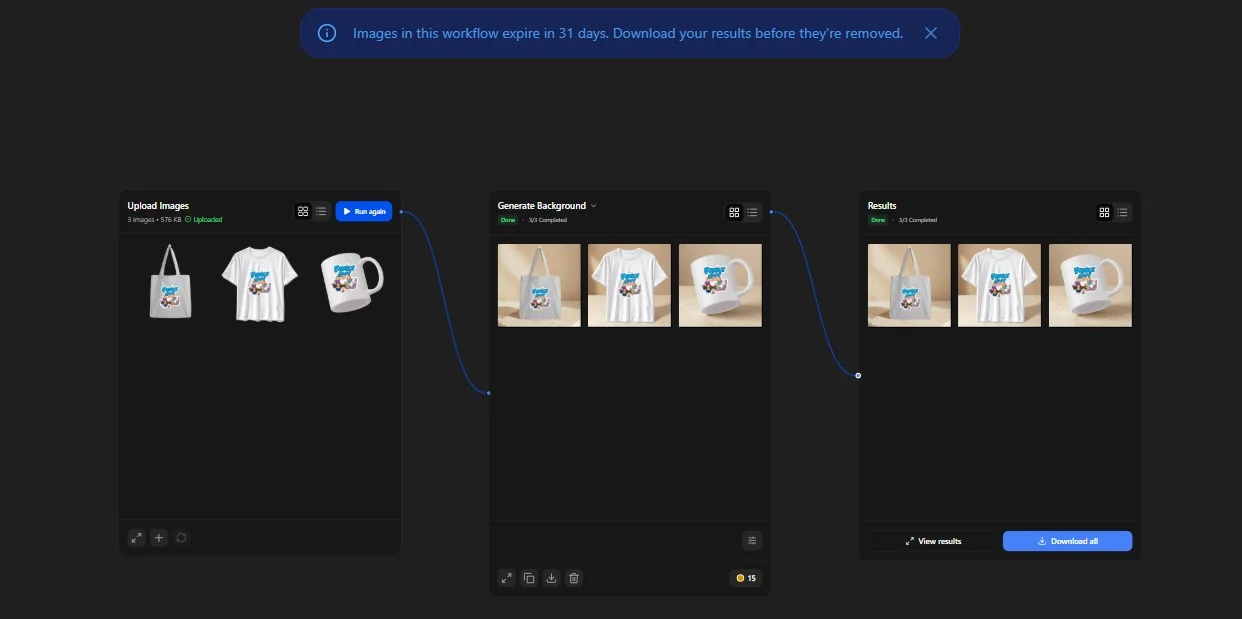
Create a clean warm beige studio background with a subtle stone surface, soft diffused lighting from the left, realistic natural shadows, and a premium e-commerce photography aesthetic. Keep the product centered with space around it. Keep each product completely unchanged and preserve its original colors, shape, texture, proportions, logo, label, and details.
In our test, a specific prompt like this ran on three different products: a mug, a shirt, and a handbag. All three came back on a matching background, even though the products had nothing in common.
Two habits keep the batch cohesive:
- Name the things that must not change. A named surface, a light direction, and a color palette leave the AI little room to drift.
- Write for the whole collection. The prompt has to make sense for every product, not just the one you're looking at while writing it.
If you want ready-made examples to start from, our AI background generator prompts for product photos guide has more than 50, organized by product type.
How to Get Different Backgrounds From One Prompt
One prompt per run sounds like it forces one background for everything. It doesn't. The trick is to describe a rule for choosing the scene, not the scene itself.
A specific prompt tells the AI what to draw. An open prompt tells the AI how to decide, and the product in each photo does the rest.
Split the prompt into two parts:
| Lock these to keep one brand feel | Leave these open to create variety |
|---|---|
| Lighting | Setting |
| Color palette | Surface |
| Mood | Props |
| Product preservation line |
For example:
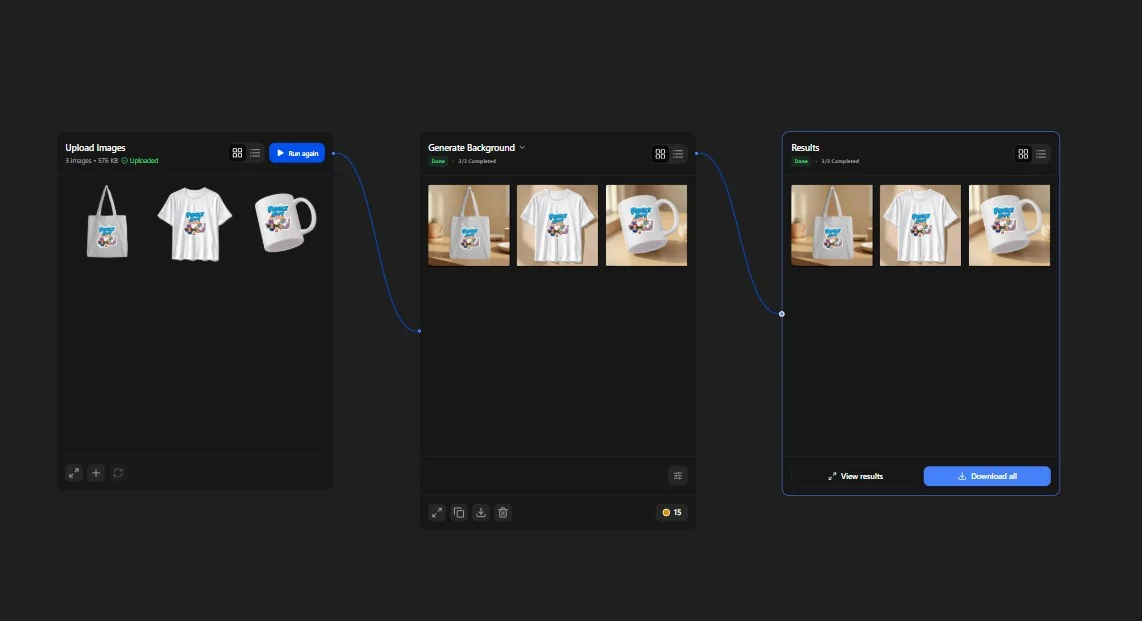
Place the product in a realistic everyday setting where it would naturally be used or displayed. Choose the location and the surface freely to suit this specific product. Soft natural daylight, warm neutral color palette, minimal props, shallow depth of field. Keep the product completely unchanged and preserve its original color, shape, material texture, proportions, logo, label, and every visible detail.
We ran this prompt on the same three photos: the mug, the shirt, and the handbag. The AI recognized what each product was and generated a different, fitting background for each one, all from a single run.
A few limits to keep in mind:
- Variety comes from the products. A mixed batch gives the AI different signals to work with. A batch of near-identical items gives it less, so expect those scenes to look closer to each other.
- The locked part still matters. Without a fixed light and palette, the batch can stop looking like one brand.
- Don't ask for "a different background for each image." Each photo is generated on its own, so the AI has nothing to compare against.
How to Create Hundreds of Variations With Different Backgrounds
When you need the same products in several distinct looks, one open prompt isn't enough control. Two methods scale better.
Duplicate the workflow for each scene
A saved workflow can be duplicated and edited. Build it once, duplicate it, and change only the prompt in the Generate Background step.
- Save your tested workflow, for example "Catalog, beige studio."
- Duplicate it and rename the copy for the new scene, such as "Catalog, autumn campaign."
- Replace the prompt, test on a few photos, then run the full batch.
Every other step stays identical, so the sizing and finishing match across all the looks. A catalog of 100 products in 3 scenes takes 3 runs and produces 300 images, which costs 1,500 credits.
Use the API for a prompt per image
For full control over every product and scene combination, call the model directly. The Generate Background API takes a product cutout and a text prompt in each request, so every image can carry its own prompt.
A typical setup is a spreadsheet with one row per image: the product photo and the scene you want. A short script sends each row to the API and saves the result. The same cutout can return a studio shot, a lifestyle scene, and a seasonal version by changing only the prompt.
API usage is billed separately from web credits. See Workflow Builder vs API to decide which fits your team.
How to Combine Background Generation With Other Steps
Background generation doesn't have to be the last step in your workflow. A few useful combinations:

Generate + UpscaleGenerate Background → Upscale
Generate the new background first, then improve the final image's resolution before exporting.
Generate + CropGenerate Background → Crop Image
Useful when your catalog needs a consistent aspect ratio or image dimensions across every listing.
Remove + Generate + UpscaleRemove Background → Generate Background → Upscale
Gives you more control by separating the product from its original surroundings before placing it into the newly generated environment, rather than generating directly over a busy source photo.
Chain as many steps as your catalog actually needs. The advantage is defining the process once and reusing it, not building it fresh for every batch.
Frequently Asked Questions
Will one prompt really work for every product in my catalog?
Not always perfectly, and that's exactly why the test step matters. Test on a small, deliberately varied selection before running the full batch. Very different product types sometimes need a second workflow with a slightly adjusted prompt.
How do I bulk generate product photos with similar backgrounds?
Write one specific prompt that names the setting, surface, lighting, and mood, then run it across the batch in a workflow. Every photo receives the same visual direction, so the catalog looks like it came from one shoot.
Can one run give each product a different background?
Yes. Use an open prompt that tells the AI to choose a setting suited to each product, and lock only the lighting, palette, and mood. In our test, a mug, a shirt, and a handbag each received a different scene from one prompt.
Do I need to remove the background first before generating a new one?
Not always. The AI background generator can work directly on your source photo. But if the original background is especially cluttered or busy, adding a Remove Background step before it usually gives you more control over the final result.
How is this different from the POD/Etsy bulk editing guide?
That guide is built around the specific needs of print-on-demand sellers, splitting mockup photos from transparent print files and Etsy's photo specs. This guide is the general version for any product catalog that needs generated backgrounds at scale.
Have a catalog waiting for a refresh? Use SnapEdit Workflow to build the sequence once and apply it across your entire batch.