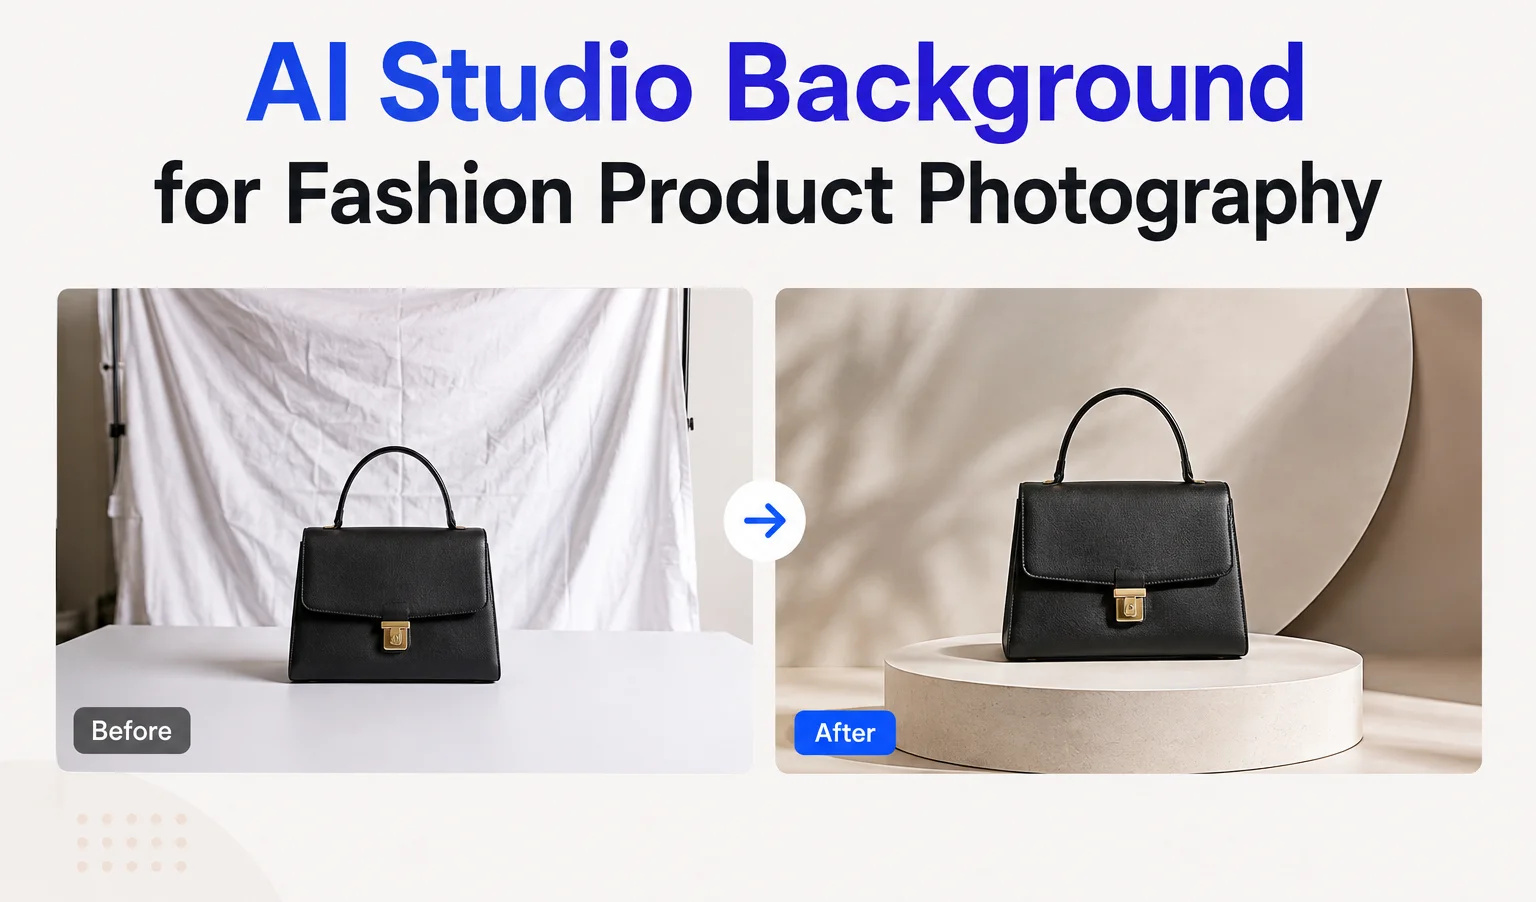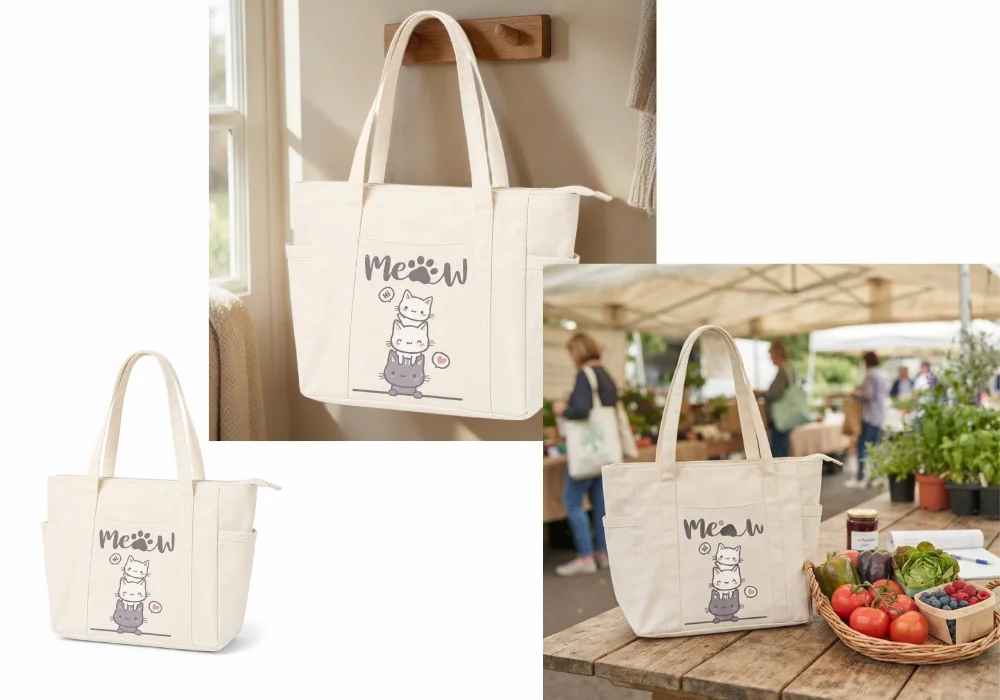
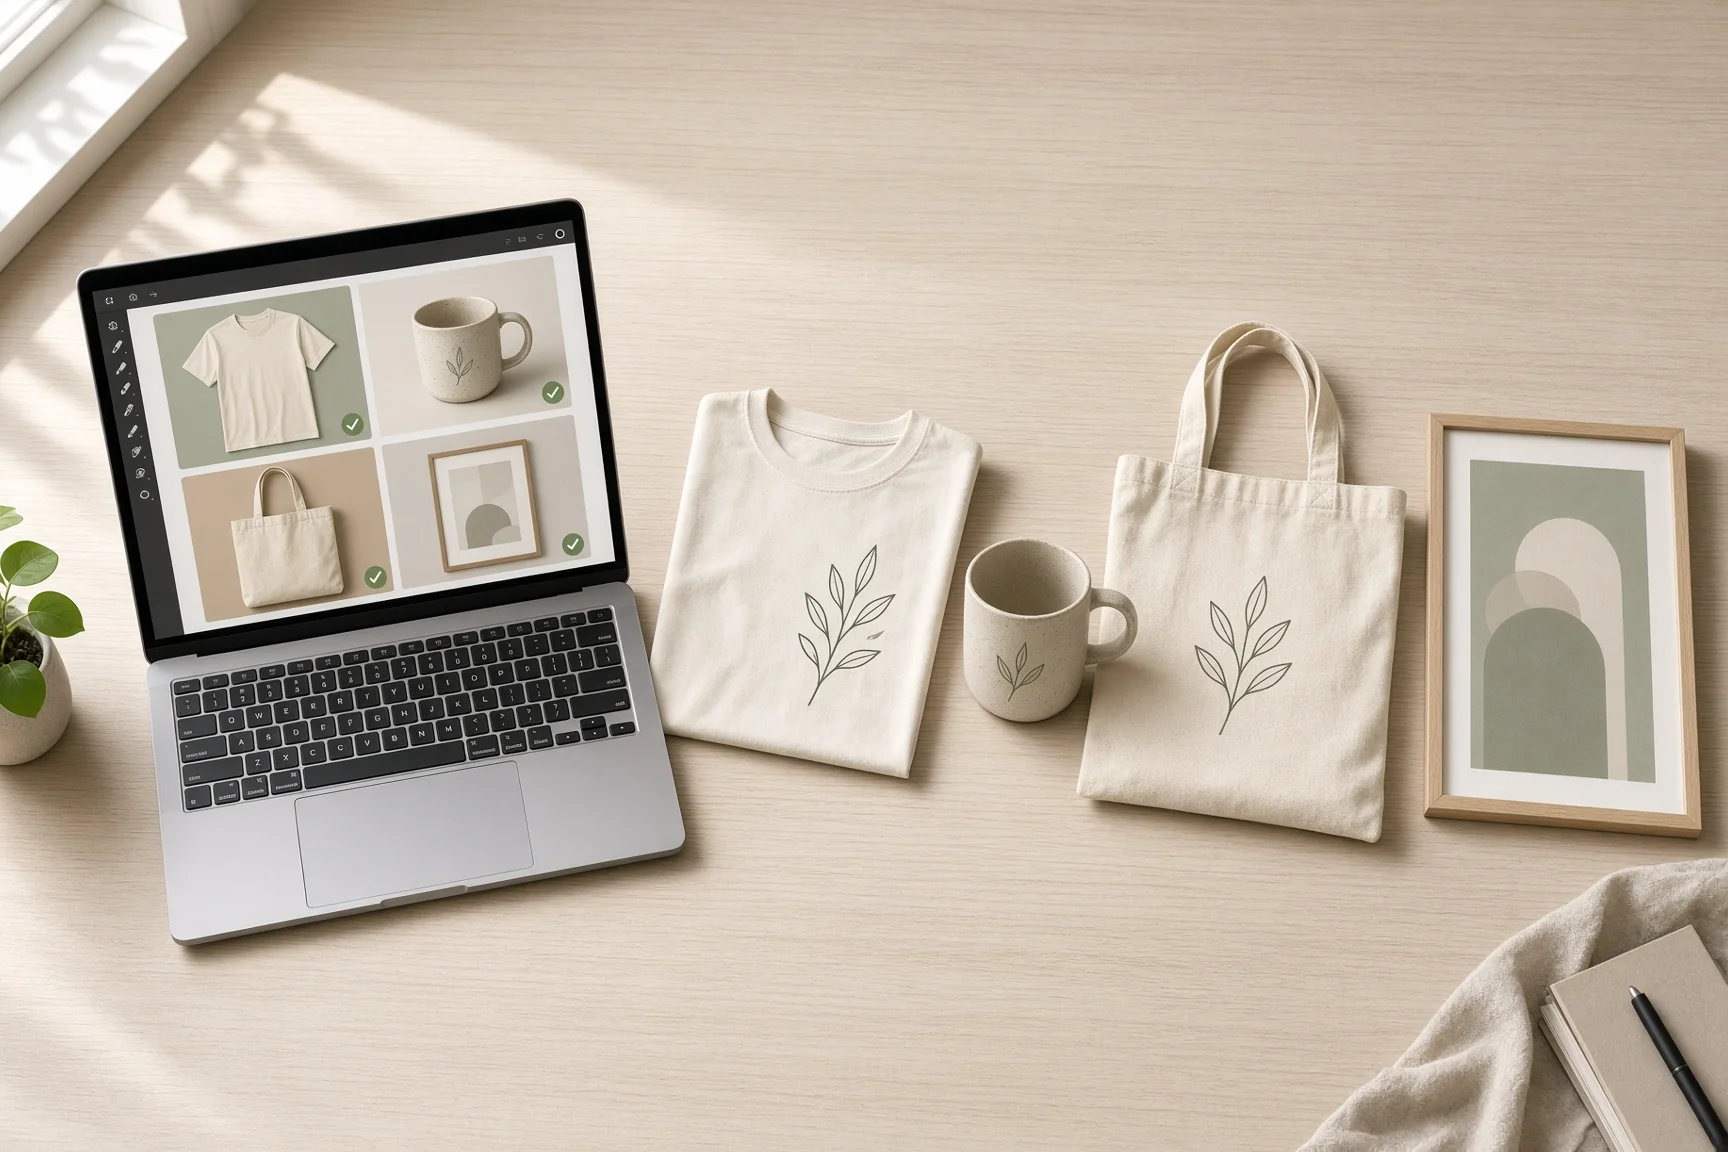
If you run a print-on-demand shop on Etsy, you already know the real bottleneck isn't coming up with designs. It's everything that happens after: turning each design into a clean mockup photo and a print-ready file, over and over, for every product variant you sell.
Do that one design at a time, and a single new drop can eat your whole afternoon.
One thing worth clearing up before we go further: this guide is about editing your photos, not your listings. If you're looking for a way to bulk-update titles, tags, descriptions, or prices across your Etsy shop, that's a different job, usually handled by Etsy's own bulk editor or a listing management tool. Here, we're talking specifically about the images themselves: backgrounds, resolution, and getting print files ready, done for many designs at once instead of one by one.
Two kinds of images every POD listing needs, and the exact specs for each
If you're new to POD, here's the thing nobody explains clearly enough: every listing actually needs two different images built from the same design, and each one has its own rules.
Your mockup photo is what buyers see on your Etsy listing. It's the shirt, mug, or poster shown in context, sometimes with a lifestyle background, sometimes on a clean colored background. Its only job is to make someone stop scrolling and click.
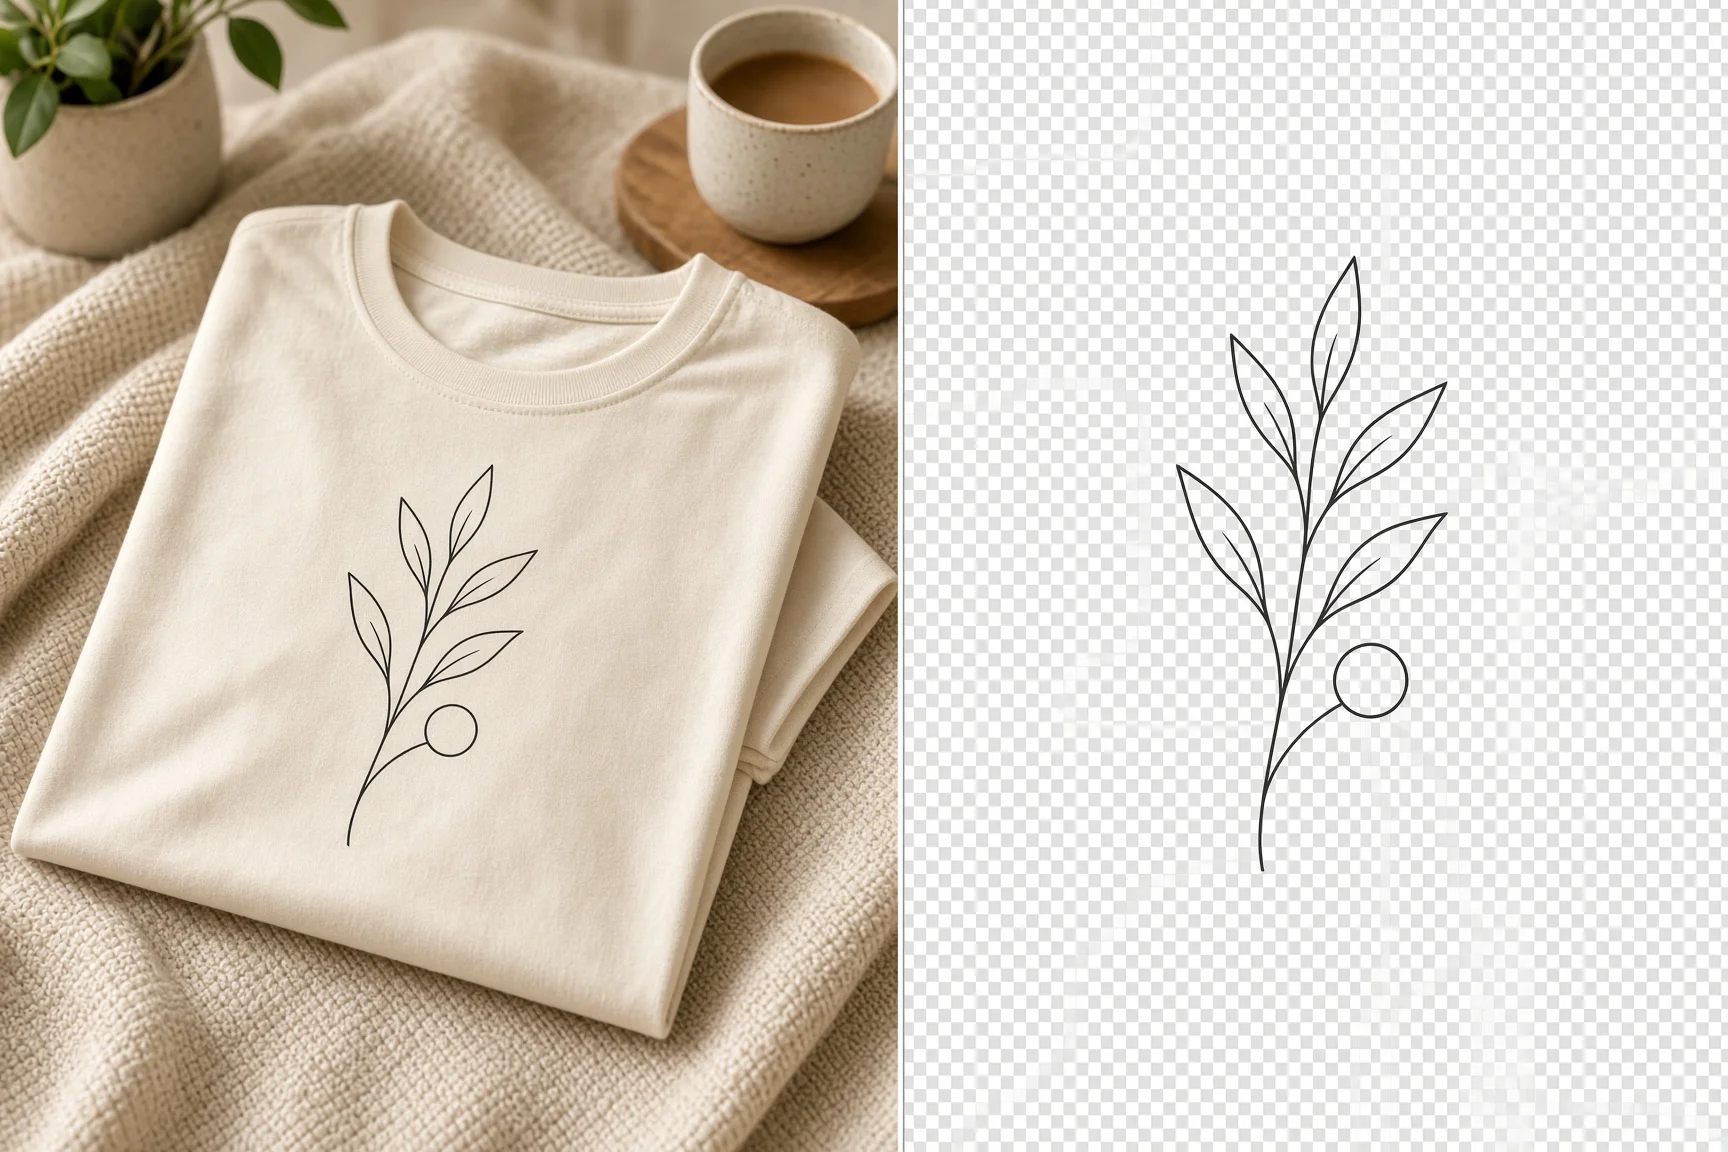
Your print file is what actually gets sent to your production partner, whether that's Printify, Printful, Gooten, or a DTF printer. Nobody but the printer ever sees it, and it follows completely different rules than your mockup.
| Mockup photo (for Etsy) | Print file (for your supplier) | |
|---|---|---|
| Format | JPG, PNG, or GIF | PNG (SVG for vector logos/text) |
| Background | Whatever fits your brand: clean color, lifestyle scene, or plain white | Transparent, always |
| Minimum size | At least 2000px on the shortest side | Varies by product; suppliers list an exact pixel size per print area (a t-shirt print file is often 4500 x 5400px) |
| Resolution | Not usually specified, size matters more | 300 DPI for most products, 120 to 150 DPI for large-format items like blankets or leggings |
| Where it's seen | Buyers, on your listing | Only your production partner, never the customer |
Here's why the difference actually matters, not just as a technicality. JPEG files don't support transparency. If you accidentally upload a JPEG as your print file, most print engines will lay a solid white box down underneath your design when it prints, because the software has to fill in that "empty" space with something. Your buyer receives a shirt with a visible white rectangle around their design instead of a clean print. That's a refund, a bad review, and a design that now needs to be redone under pressure while whatever trend you were chasing moves on without you.
A background that looks great on your mockup means nothing to your print file, and a print file with the wrong specs won't show up correctly no matter how good your mockup photo looks. Any bulk workflow that treats these two outputs as one and the same is going to cause exactly this kind of problem, just multiplied across however many designs you batched at once.
What a real bulk editing pass needs to cover
Once you're clear on the two outputs you need, a batch of new designs typically needs the same handful of things done to every single one:
- A clean cutout with a transparent background. This is the starting point for almost everything else. Keep it transparent for your print file, or replace it with something new for your mockup.
- A DTF-specific pass, if that's how you print. Direct-to-film printing has its own background and edge requirements that are stricter than a typical cutout.
- Resizing to two different specs, not one. Your Etsy mockup needs at least 2000px on the shortest side. Your print file needs to match whatever pixel dimensions your specific supplier and product list, which is usually much larger.
- Upscaling for anything too small. Older designs, client-supplied artwork, or anything exported at low resolution needs enhancing before it's print-ready. If a design comes in under 300 DPI at its intended print size, that's the one to catch before it ships, not after a customer complains.
- A consistent background style across your shop, even when the designs themselves are wildly different from each other.
Doing this by hand for one design is a few minutes of work. Doing it for forty designs across four product types is where most sellers either burn a weekend or start cutting corners, which is usually when quality slips.
The smart way: chain it all in SnapEdit's Workflow Builder
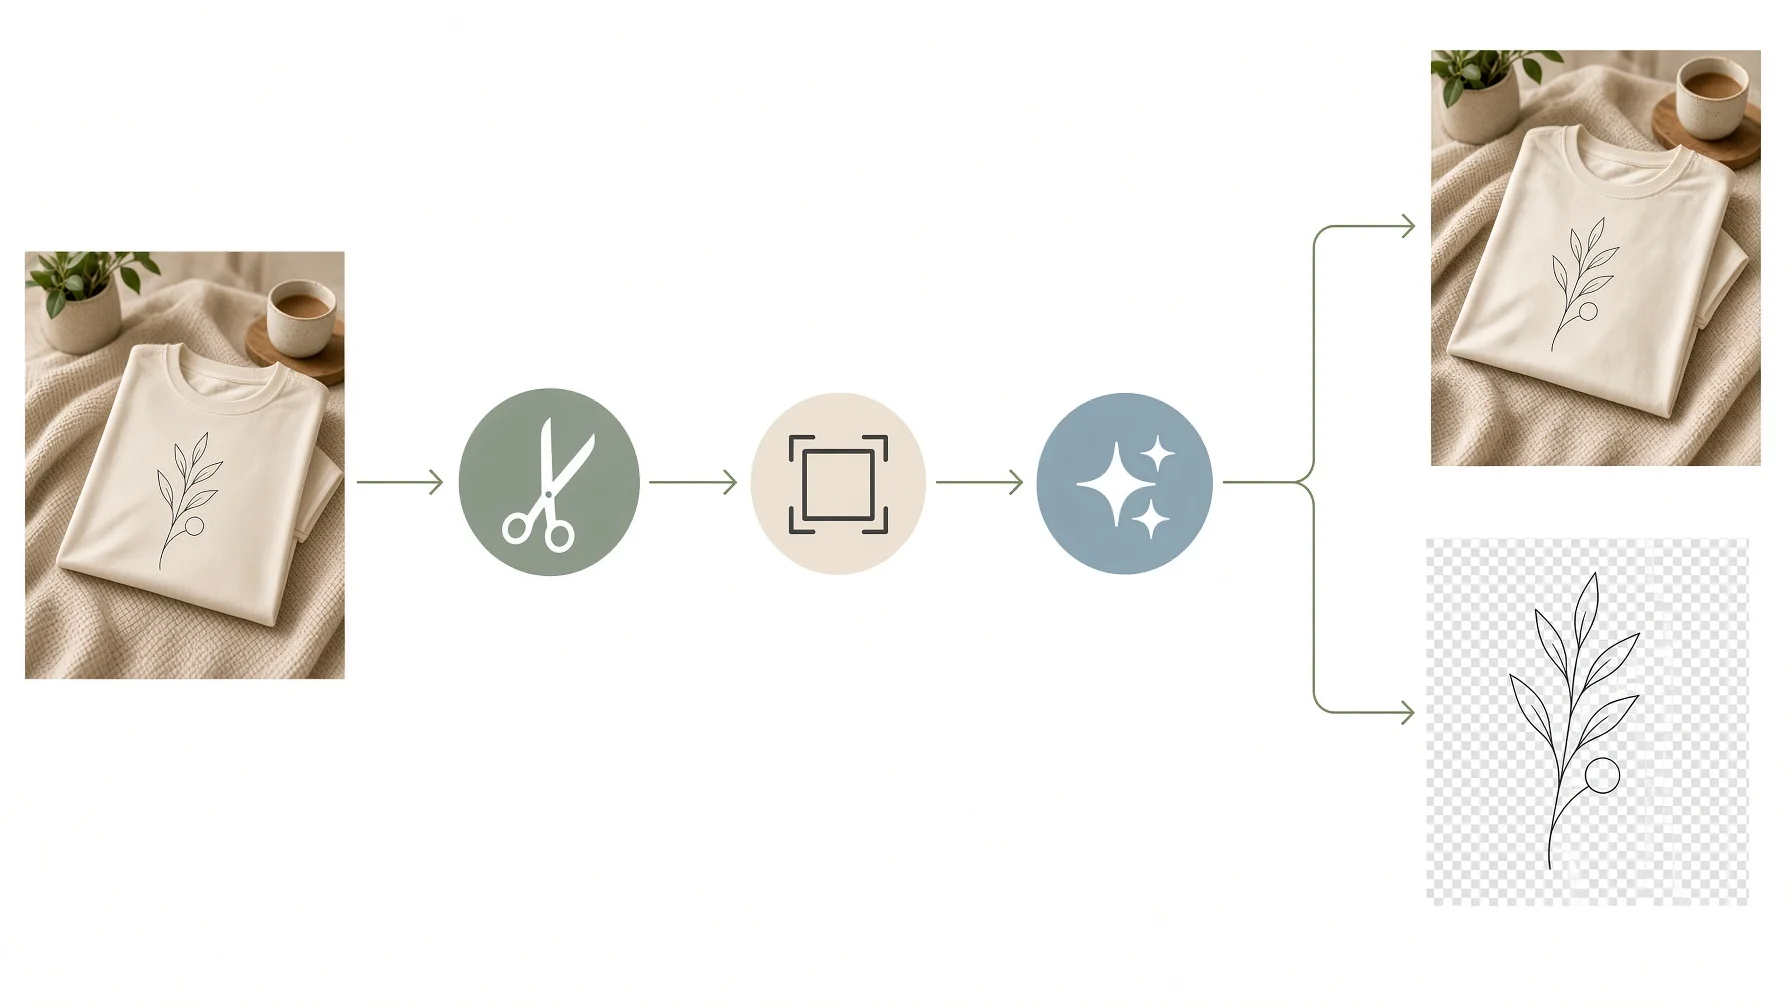
This is the part that actually saves you the weekend. Instead of opening a background remover, then a resizer, then an upscaler for every single image, SnapEdit's Workflow Builder lets you set up the whole sequence once and run an entire folder of designs through it in one pass.
Here's roughly what that looks like for a POD/Etsy batch:
1. Start with background removal, applied to your whole batch at once. Point the bulk background remover at your folder of designs or mockup shots instead of uploading them one at a time. If you print with DTF, use the DTF-specific background removal step here instead of the general one. For logo-style or flat graphic designs, the graphic background remover handles sharp edges and solid colors more cleanly than a general photo model.
2. Split the output into two paths. From that same cutout, send one copy straight to a transparent background output for your print files, and send another copy to a background replacement step for your mockup photos, whether that's a clean color or a lifestyle scene.
3. Add a resize step for each path. Set your mockup path to Etsy's photo specs using auto-crop, and set your print file path to match your supplier's print area, converting the format if needed with image conversion.
4. Add enhancement for anything under-resolution. Drop an image enhancer step in before the resize if you know some of your source files are smaller than they should be. It's easier to add this step to every run than to sort out which files need it beforehand.
5. Save it, and run it again next time. The advantage over doing each step manually isn't just the first run, it's that the same workflow is sitting there ready for your next drop. New collection of forty designs next month goes through the exact same steps automatically, without you rebuilding anything.
If you're managing a large enough catalog that you want this running without opening the editor at all, our guide on building an AI image editing workflow step by step covers how to take this further.
Common mistakes when bulk-editing POD photos
Sending the mockup file to your printer by mistake. Once you've split your output into two paths, it's easy to grab the wrong folder when uploading to Printify or Printful. Keep mockup and print file outputs in clearly separate folders, not just separate filenames.
Running one workflow for everything and skipping the branch. If your workflow doesn't split into a transparent path and a mockup path, you'll end up manually redoing one of them anyway, which defeats the point of batching in the first place.
Losing fine details across a whole batch at once. Thin text, small line art, and delicate design elements are the first things to degrade in a bulk cutout. Because it's happening to every image in the batch the same way, it's easy to miss until you're looking at the finished listings. Our guide on common background removal mistakes covers how to catch this before it ships.
Using the same background for every product type. A background that works for a t-shirt mockup can look off on a mug or a framed print. Bulk editing saves time, but it still needs a couple of background variations built into the workflow rather than one setting for everything.
Exporting a print file as JPEG. It happens easily in a rushed batch: your mockup export defaults to JPEG, and if that same file gets uploaded as the print file by mistake, transparency is gone and your supplier's print engine fills the gap with a solid white box under your design. Keep your print file path locked to PNG output in your workflow so this can't happen even by accident.
FAQ
Does bulk editing my photos make my shop look less handmade?
Not if you keep some variation built in. The risk isn't automation itself, it's using the exact same background and framing for every single product regardless of type. Set up a couple of background variations in your workflow instead of one universal setting, and batch editing won't flatten your shop's personality.
Do I really need separate files for mockups and print submission?
Yes. Your mockup photo is for buyers browsing your listing. Your print file is what your production partner actually prints from, and it needs to be the design itself on a transparent background, not the finished mockup scene.
What image size does Etsy require for listing photos?
Etsy recommends at least 2000 pixels on the shortest side, in JPG, PNG, or GIF format. Square (1:1) and landscape (4:3) both work well; going much larger than 2000px won't make your photos look any sharper to buyers, since Etsy resizes for display anyway.
What resolution does my print file need to be?
Most POD suppliers ask for 300 DPI at your actual print size. Large-format items like blankets or leggings are more forgiving, usually 120 to 150 DPI. Always check the specific product's requirements in your supplier's product creator, since it can vary by item.
Why did my product print with a white box behind my design?
This almost always means a JPEG was uploaded where a transparent PNG should have been. JPEG can't store transparency, so the print engine fills that area with a solid color instead of leaving it clear.
Can I automate this whole process without knowing how to code?
Yes. A workflow builder is built for exactly this: chaining background removal, resizing, and enhancement into one sequence you set up visually and reuse for every new batch, no coding required.
Bulk photo editing for a POD shop isn't about cutting corners to save time. It's about doing the same handful of steps you'd do manually, background removal, print-ready files, resizing, consistency, just chained together so they run once across your whole batch instead of once per image.